How to install your own rangeland monitoring sites
Money doesn’t grow on trees; it grows from grass!
The rangelands are an extensive natural resource that allow cattle production in a relatively low input and low-cost system. The productivity of rangelands is dependent on keeping them in good land condition.
Some indicators of declining land condition can be:
- less palatable perennial pastures
- more bare ground
- areas of weed incursion
- tree or shrub thickening
- erosion.
This means that even in good rainfall seasons there may be less feed for cattle, and this can have a large impact on production.
Changes in land condition can occur slowly, so it’s important that land managers find ways to monitor any changes over time and make appropriate management decisions quickly. The more land condition declines, the harder and more expensive it can be to recover.
A rangeland monitoring site is a simple method to consistently monitor and record land condition over time. A monitoring site is just a precise location that can be revisited over time, usually marked using something, like a picket.
These are some steps to follow if you are installing a rangeland monitoring site on your property.
Choosing a monitoring site
Choosing the right location of a monitoring point is crucial. Here are some factors to keep in mind:
- Generally, cattle will mostly graze within a 3km radius of a water source. Therefore, it is best to set up a monitoring point around 2-3km from water to get a true representation of what the landscape looks like at an ‘average’ grazing pressure.
- Avoid installing a site right next to a road, fence line or other disturbed areas but, make it convenient to visit regularly.
- Prioritise monitoring points in large, productive land types. Changes in these areas will have the most impact on a property’s carrying capacity.
- Ideally, a monitoring site will accompany any site where a management change has been implemented, such as wet season spelling, reduction in stocking rate, or controlled burning.
Materials needed
To install a monitoring site, you will need:
- tall picket – spray painting the top can increase visibility
- dolly or picket driver to bang the picket in
- a device to record GPS location of the picket (e.g. a GPS or mobile phone with the Avenza app)
- camera/phone to take photos
- a notes app or notebook for recording data.
What to record?
To make sure you can compare your observations year on year, it’s important to record the same type of information. We recommend recording the following:
- Date.
- Rainfall to date. If it has been a high or low rainfall year this might help depict why there is higher/lower pasture yield than in past years.
- Location of picket (using a GPS or mobile phone with the Avenza app) or if you are manually recording the monitoring point, use the paddock name with a brief description of where they are in the paddock to help you find them next time.
- Record the main grass or forb species that are contributing to the overall pasture yield around the picket and note any weeds.
- Estimate ground cover as a percentage—the percentage of the ground that is covered by grass, shrubs, trees, or leaf litter.
- Estimate of overall land condition. For the Northern Territory there are some invaluable Land Condition Guides found here). Otherwise, this page has some useful land condition information.
- Evidence of woody thickening. If it looks like lots of saplings are coming up in a landscape that typically doesn’t have many saplings, this could be an example of woody thickening. Photos are the best way to compare tree growth and if it is increasing or decreasing.
- Any extra comments (such as whether the paddock is currently stocked, stocking rate, if the paddock has been spelled or burnt etc.)
If you are not sure of a pasture species, take a photo or a physical sample and contact your local agricultural department office. For more information on collecting plant samples for identification including a range of contacts across states visit this page.
Tips for taking meaningful photo records
Photos are a great resource to revisit and use for comparisons in future years. Here are some tips for taking meaningful photos:
- Choose an easily recognised landmark if possible, such as a large tree, to make photos easy to recognise when comparing photos from the same site.
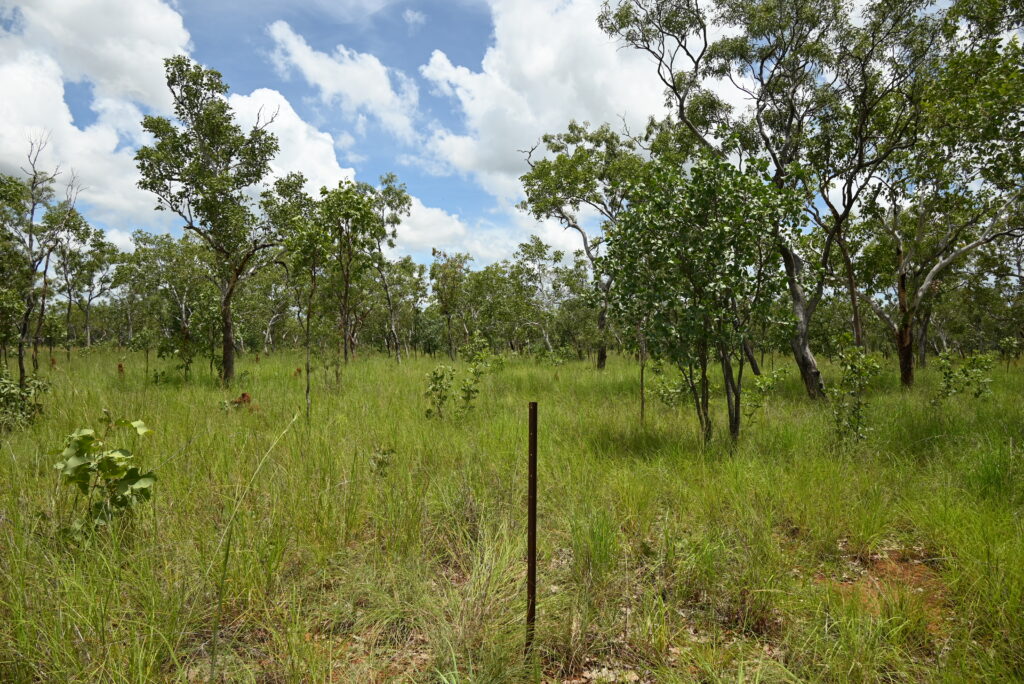
- The aim of the photo is to represent the landscape. Take the photo with 2/3 landscape and 1/3 sky.
- Using the picket as a centre take photos facing North, South, East and West. Some examples of this are shown below. This will show what species are there and give a general view of the landscape.
- Some people like to place a second star picket 10m north of the first and take their photos from this point. Doing it this way ensures that you are facing south when taking the first photo, reducing the impact of shadows on your image.
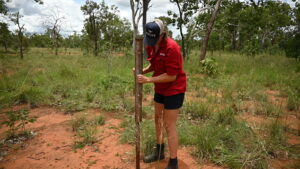
- If possible, take another photo from an elevated position, looking down, e.g. back of the ute. The aim of this photo is to portray the ground cover and pasture condition. Try to have the bottom of the picket in the centre of the photo.
- It can also be useful to include something with the date, time and site number in the photo for your records. This could either be a white bucket hanging on the picket or a white bucket lid or small whiteboard. Using a whiteboard marker, the details can be cleaned off and the bucket, lid or whiteboard can be reused at each site.
- The best light is around 11am.
- Use the same camera/phone each time, if possible.
Other considerations
In the event of unforeseen circumstances, it is advised to store both electronic and hard copy of photos to prevent you losing your records.
Additionally, ensure that your records can be understood by future land managers, and are kept in a safe place.
How often to monitor?
To ensure reasonable comparisons can be made, we suggest visiting the site at the same time each year (rangelands look vastly different at different times of year). If you wish to monitor more than once per year, visiting the site at different growth phases of the pasture is a good option.
Timing monitoring to occur around the end of the wet season can provide data for forage budgeting. Whereas end of dry season monitoring can give an indication of residual pasture going into the wet season.
If it is not possible to revisit a monitoring site annually, or a year is missed there is still long-term benefits from monitoring that only occurs every two or more years.
Legislation for Queensland graziers in Great Barrier Reef Catchments
There are specific legislative requirements for producers in reef catchments under the Environmental Protection Act 1994. This includes the Wet Tropics, Burdekin, Mackay Whitsunday, Fitzroy and Burnett Mary regions. Graziers in these regions are required to meet conditions of the Agricultural ERA (Environmentally Relevant Activity) Standard for beef cattle grazing. This includes conditions for maintaining groundcover and reducing the loss of topsoil through erosion. In reef catchments photo monitoring can be used to monitor changes in ground cover over time.
Find out more, here: Beef cattle grazing in the Great Barrier Reef Catchment.
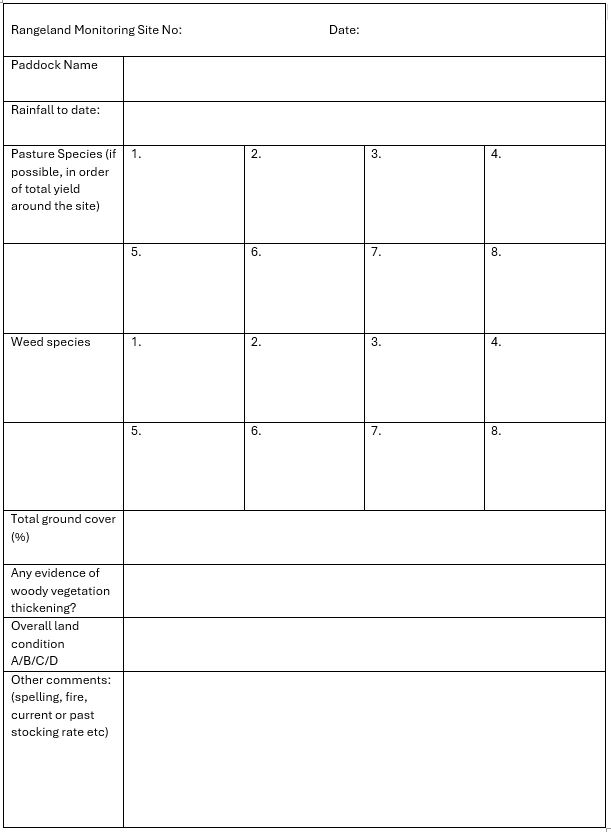
Template for recording monitoring site data
Here is a template that can be used to record monitoring site data.
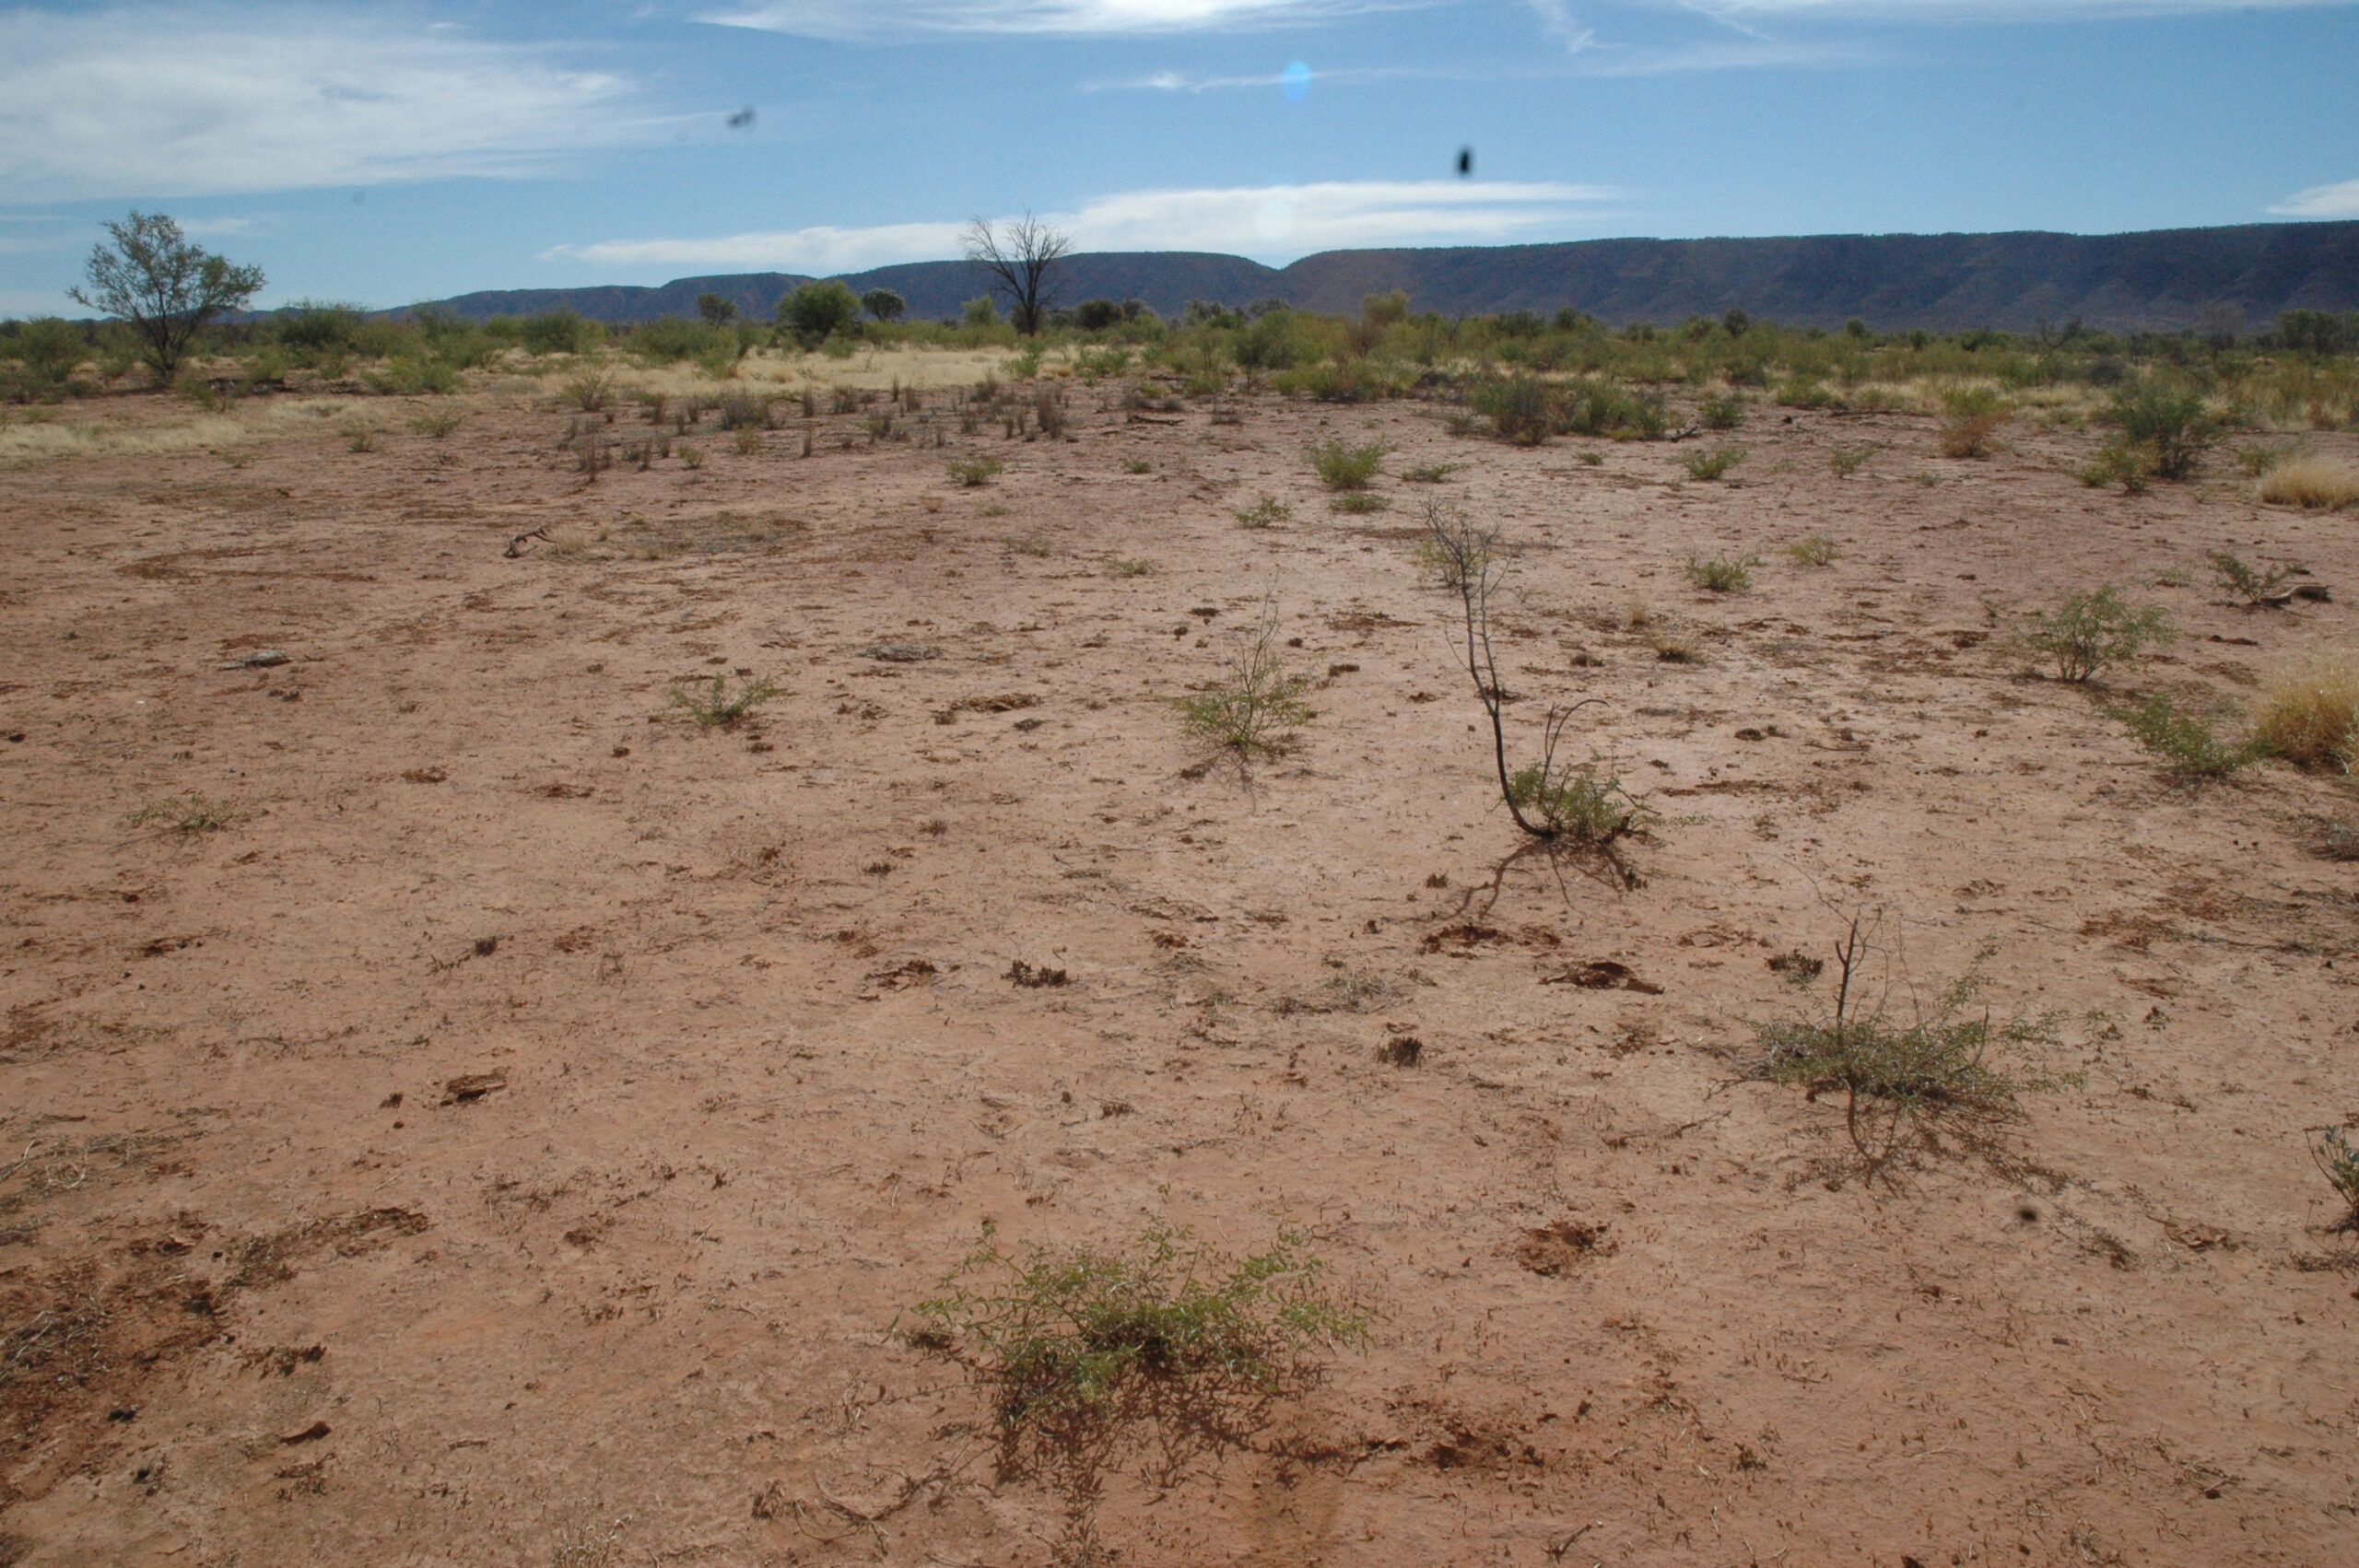
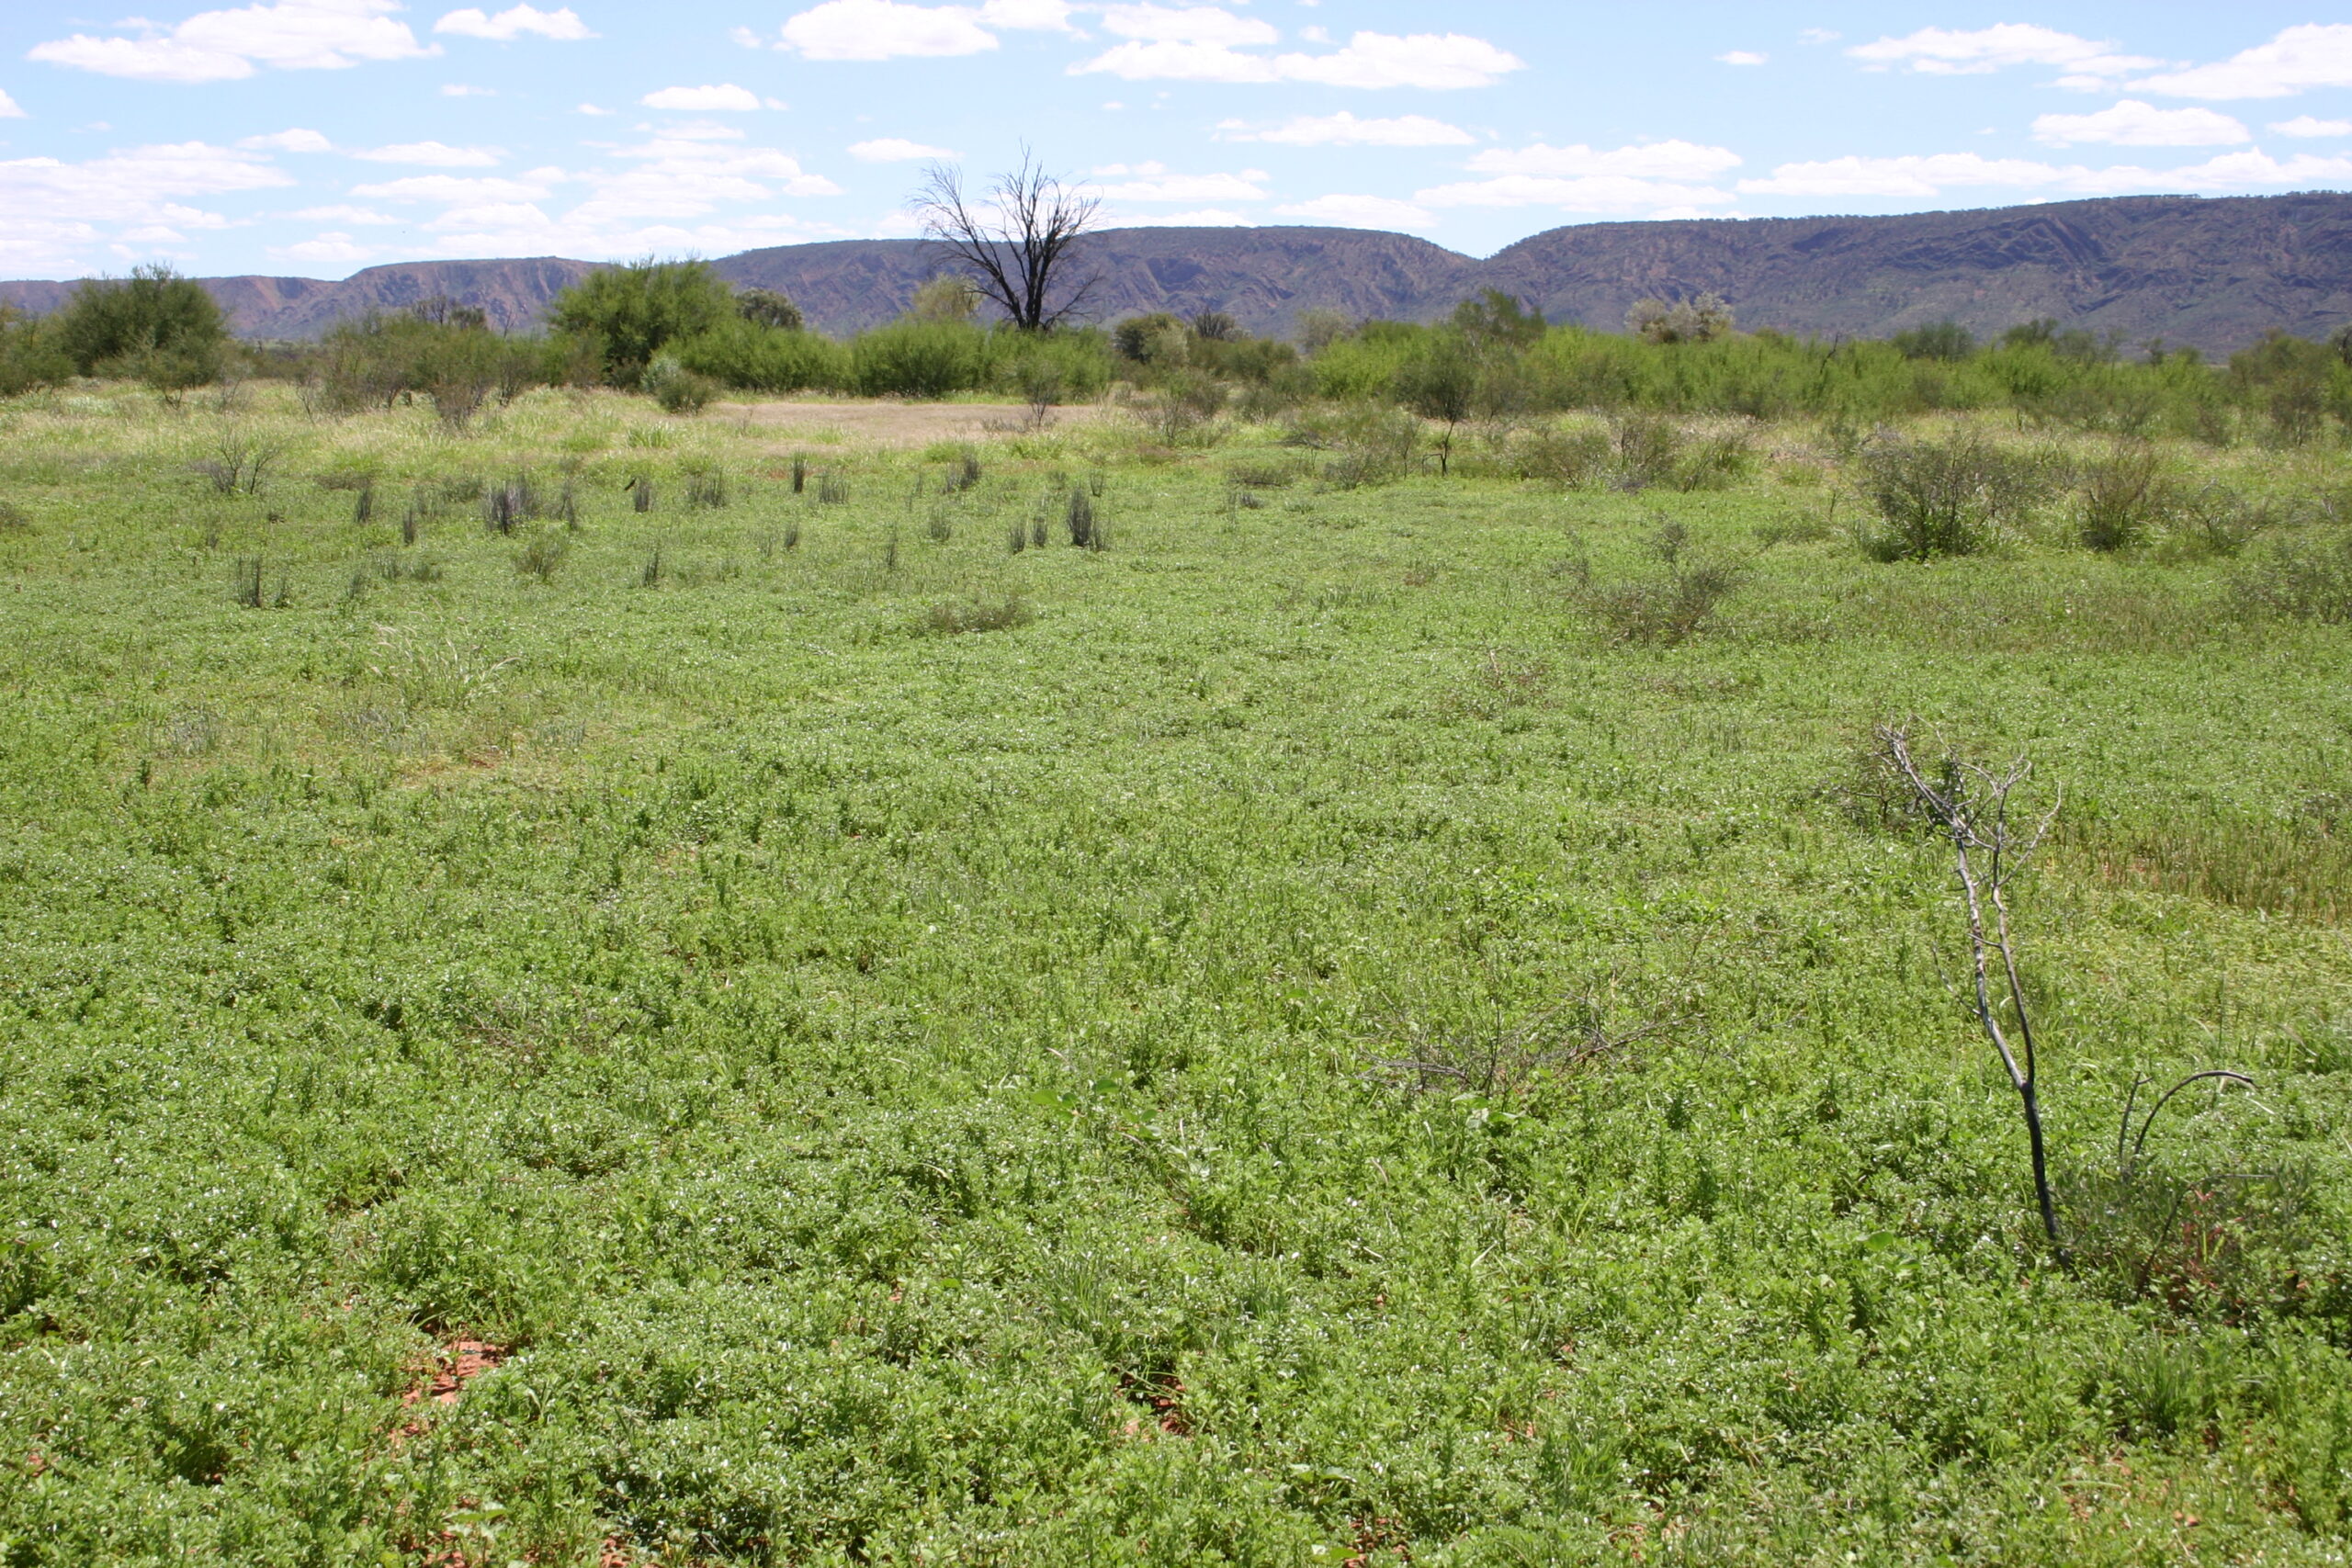
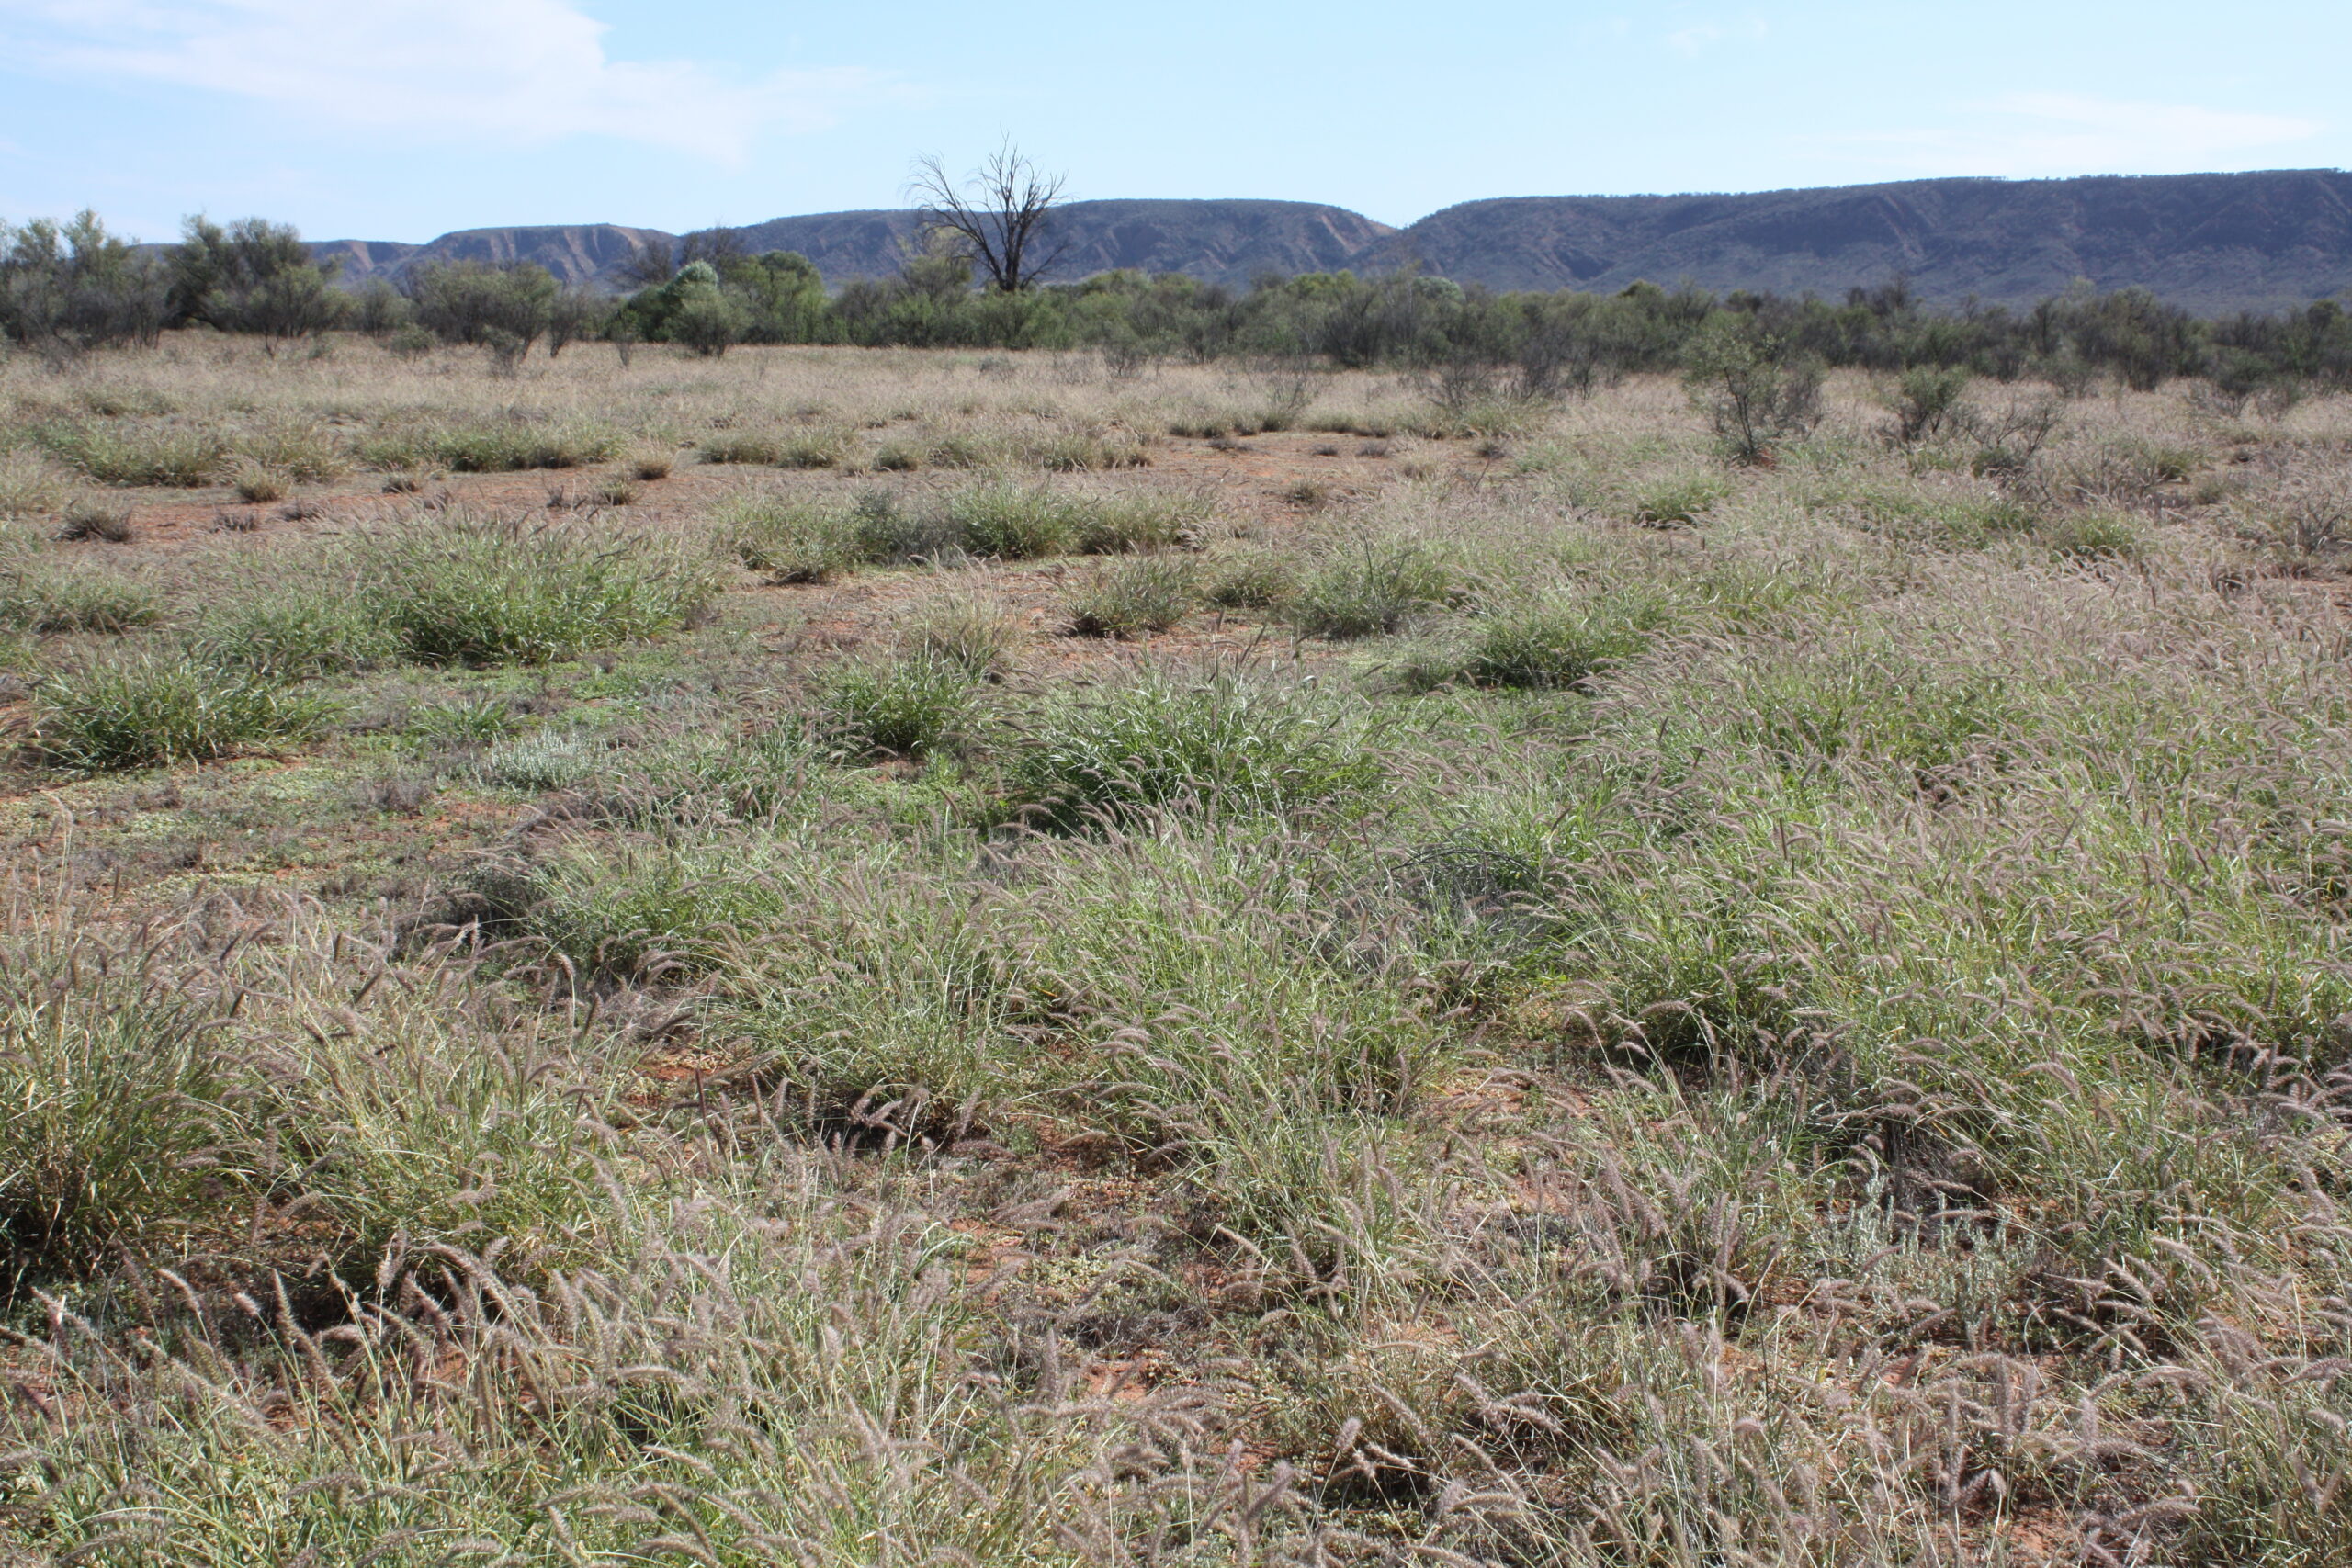
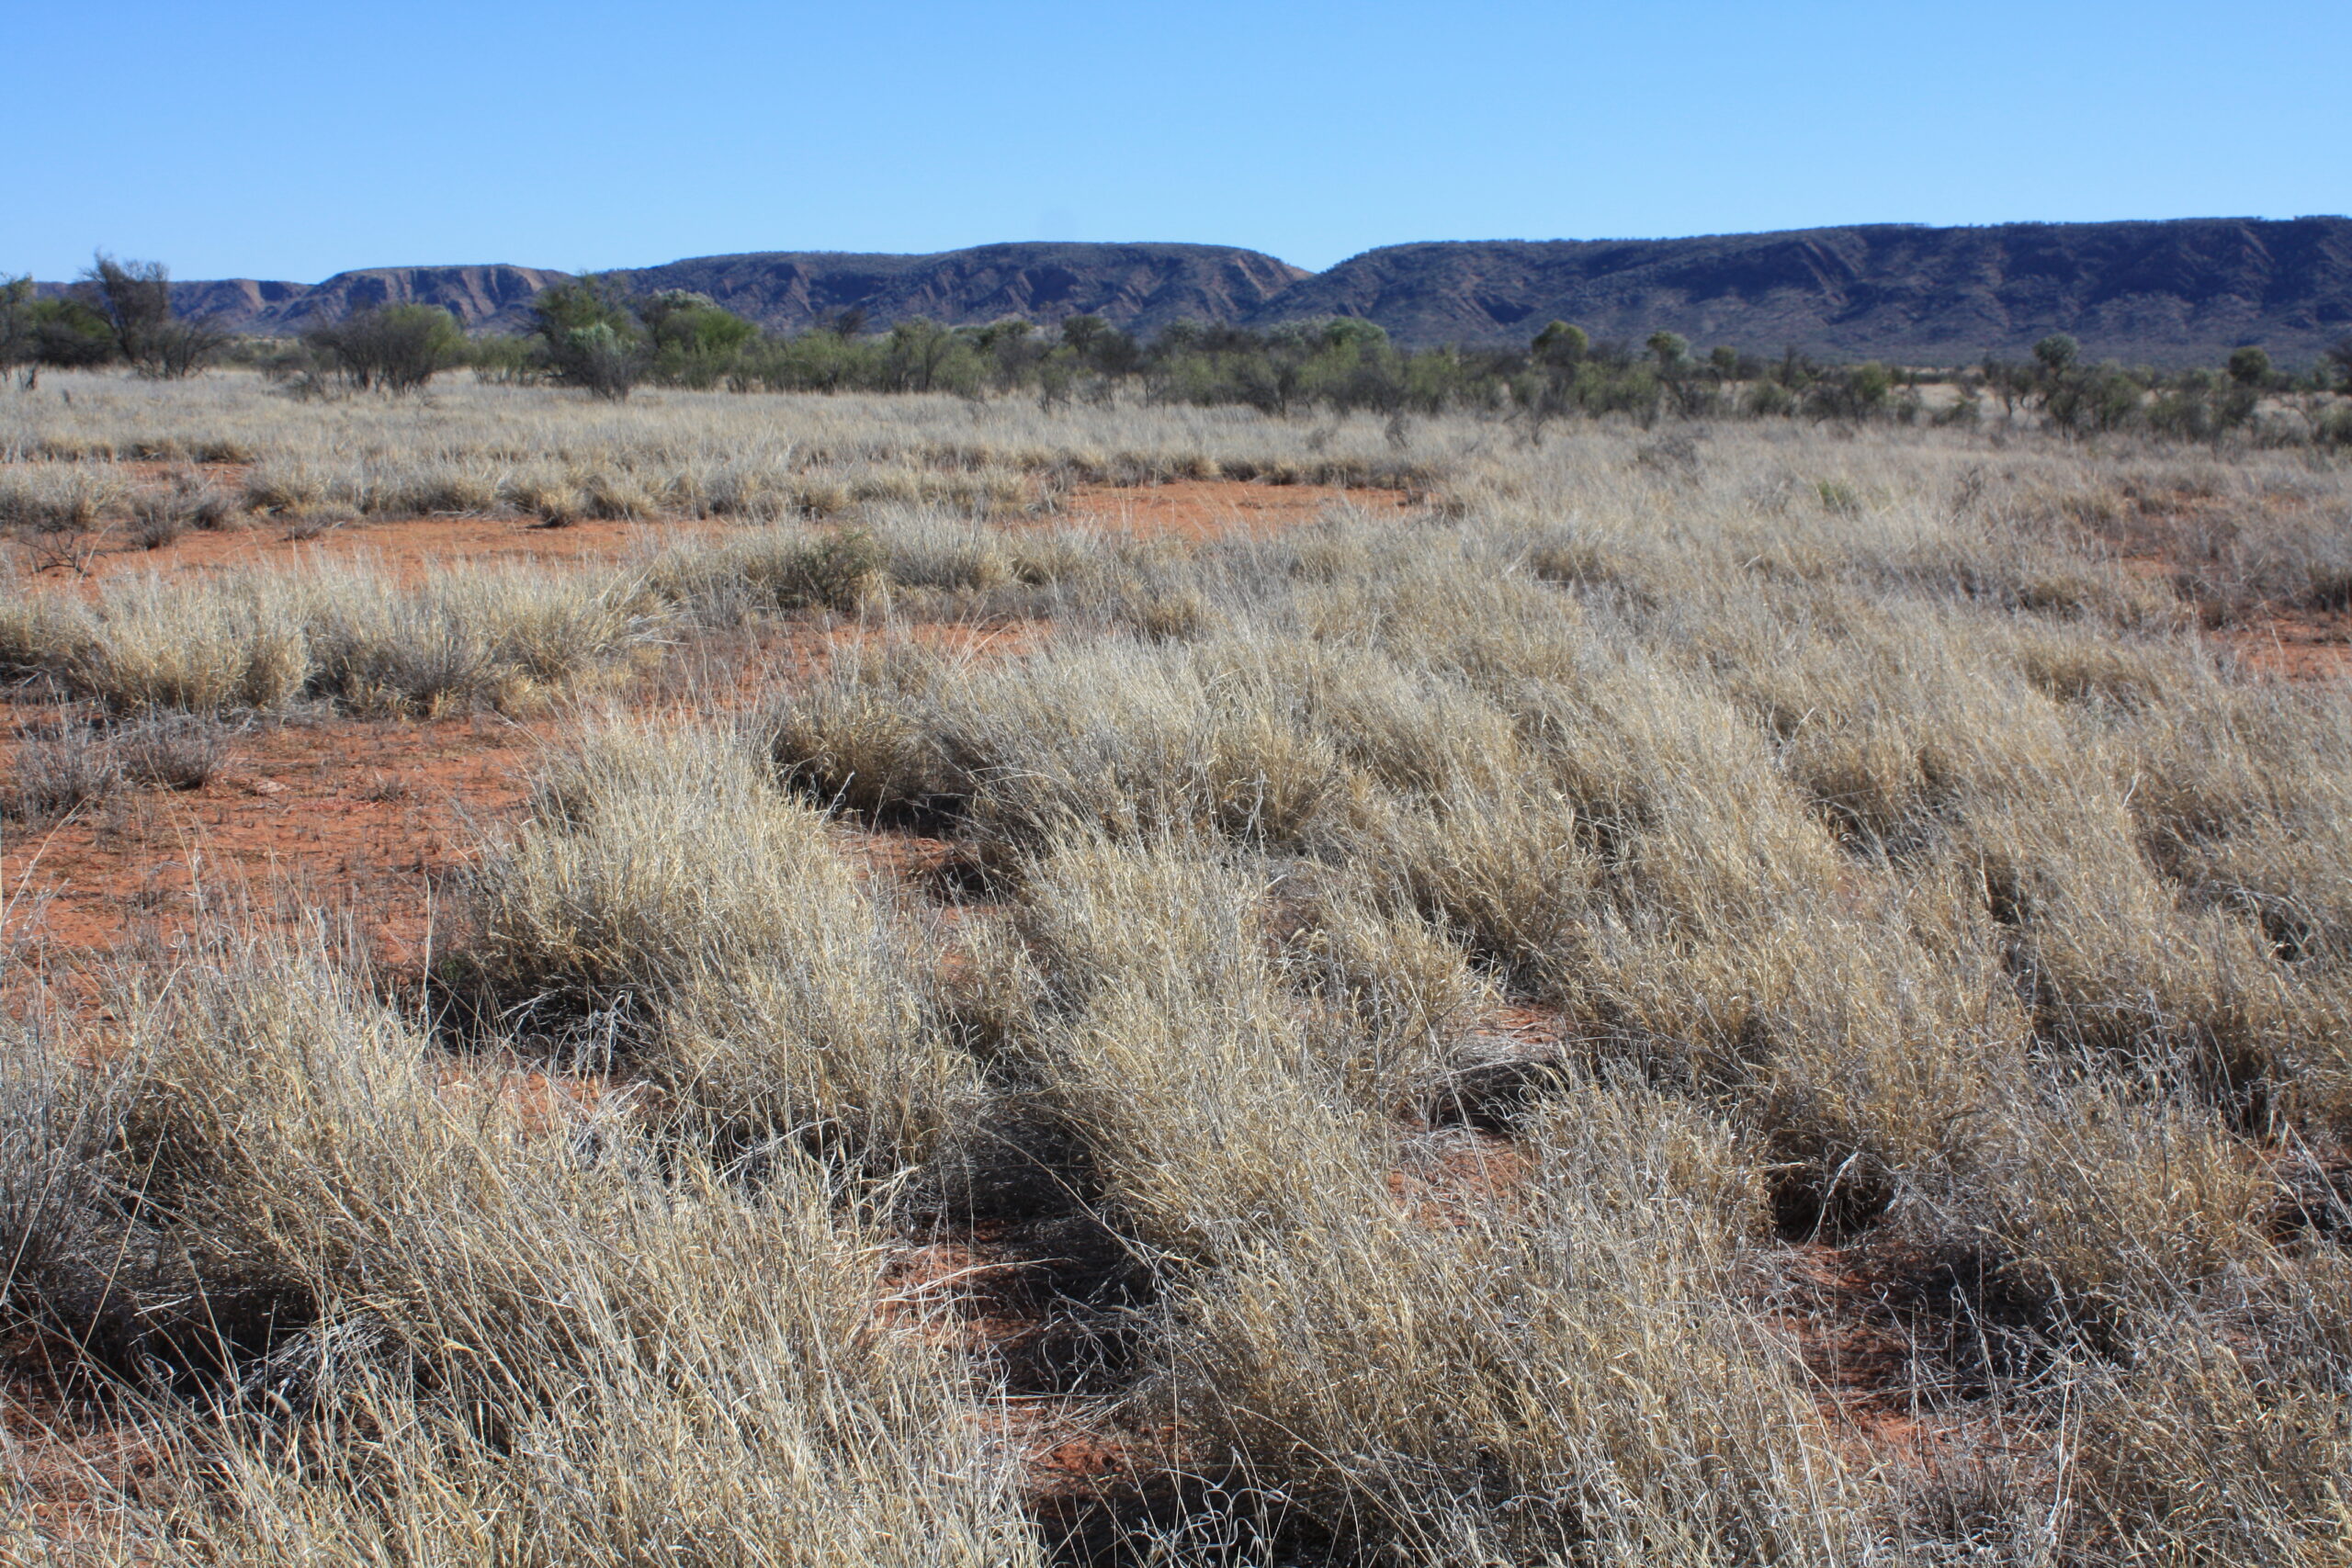
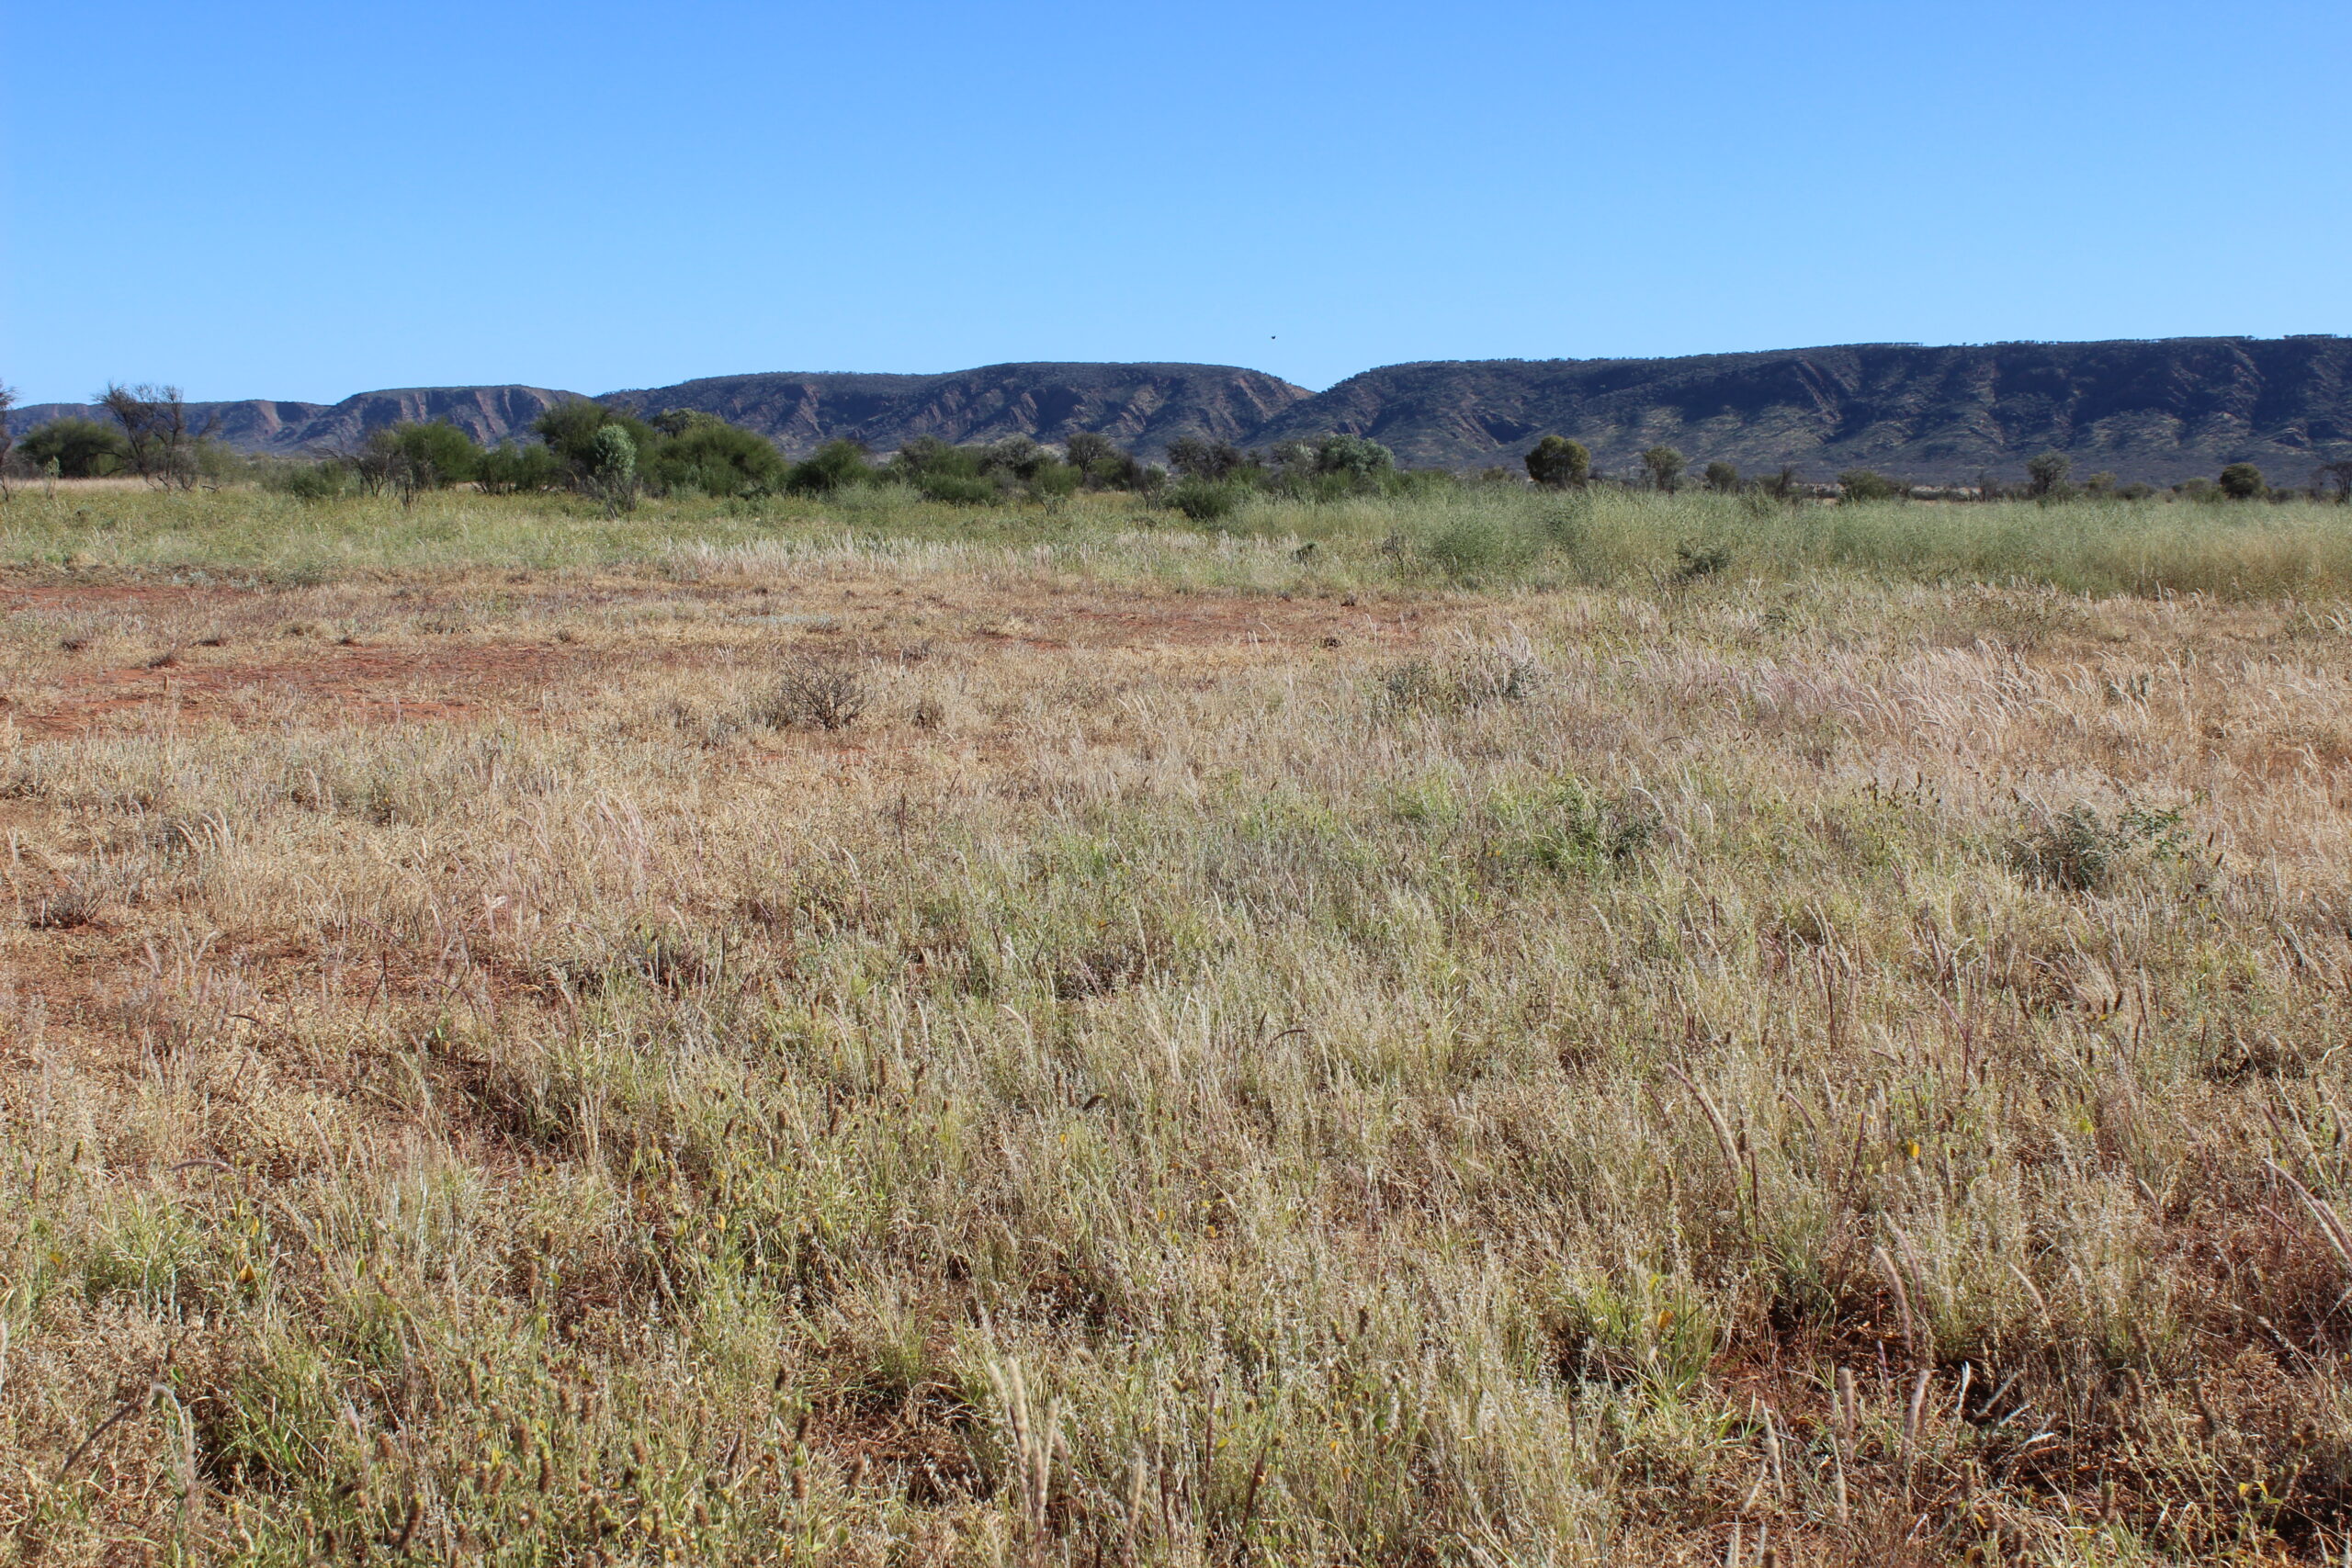
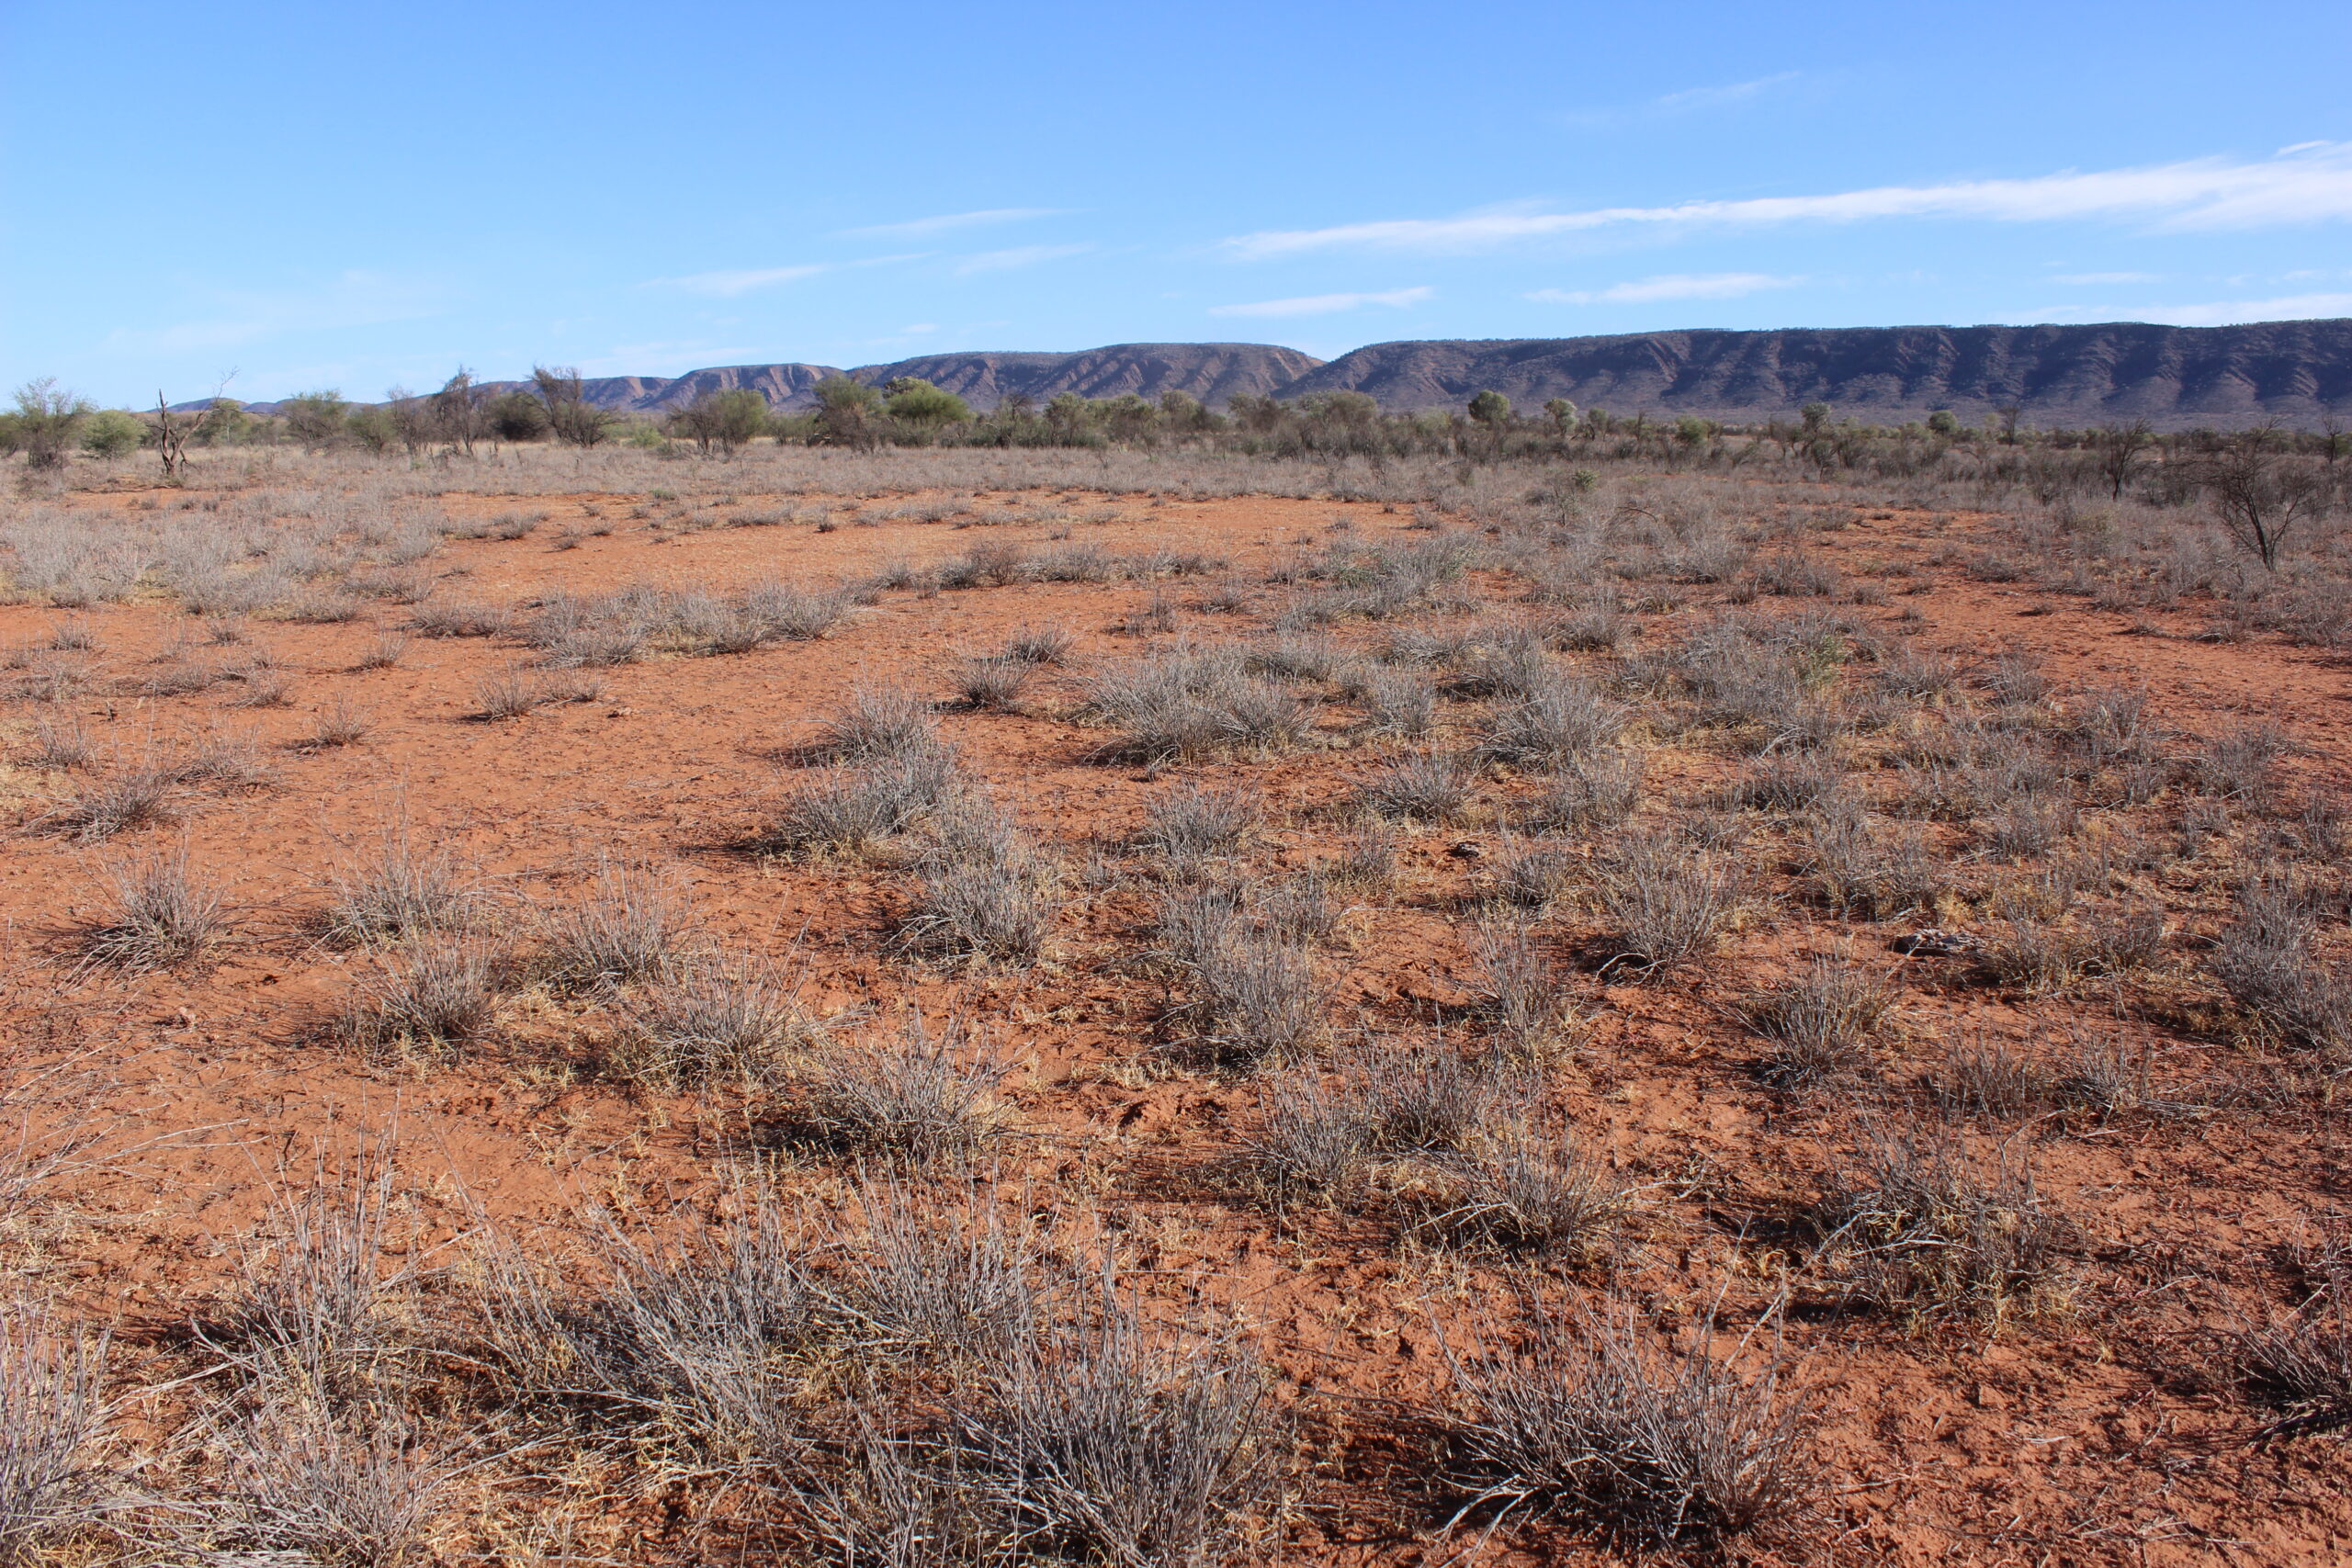
 Examples of monitoring photos over time
Below is an example of change over time at a Central Australian monitoring site, showing changes between times of the year, and changes between years in photos taken in the same month.
 |  |
 |  |
 |  |