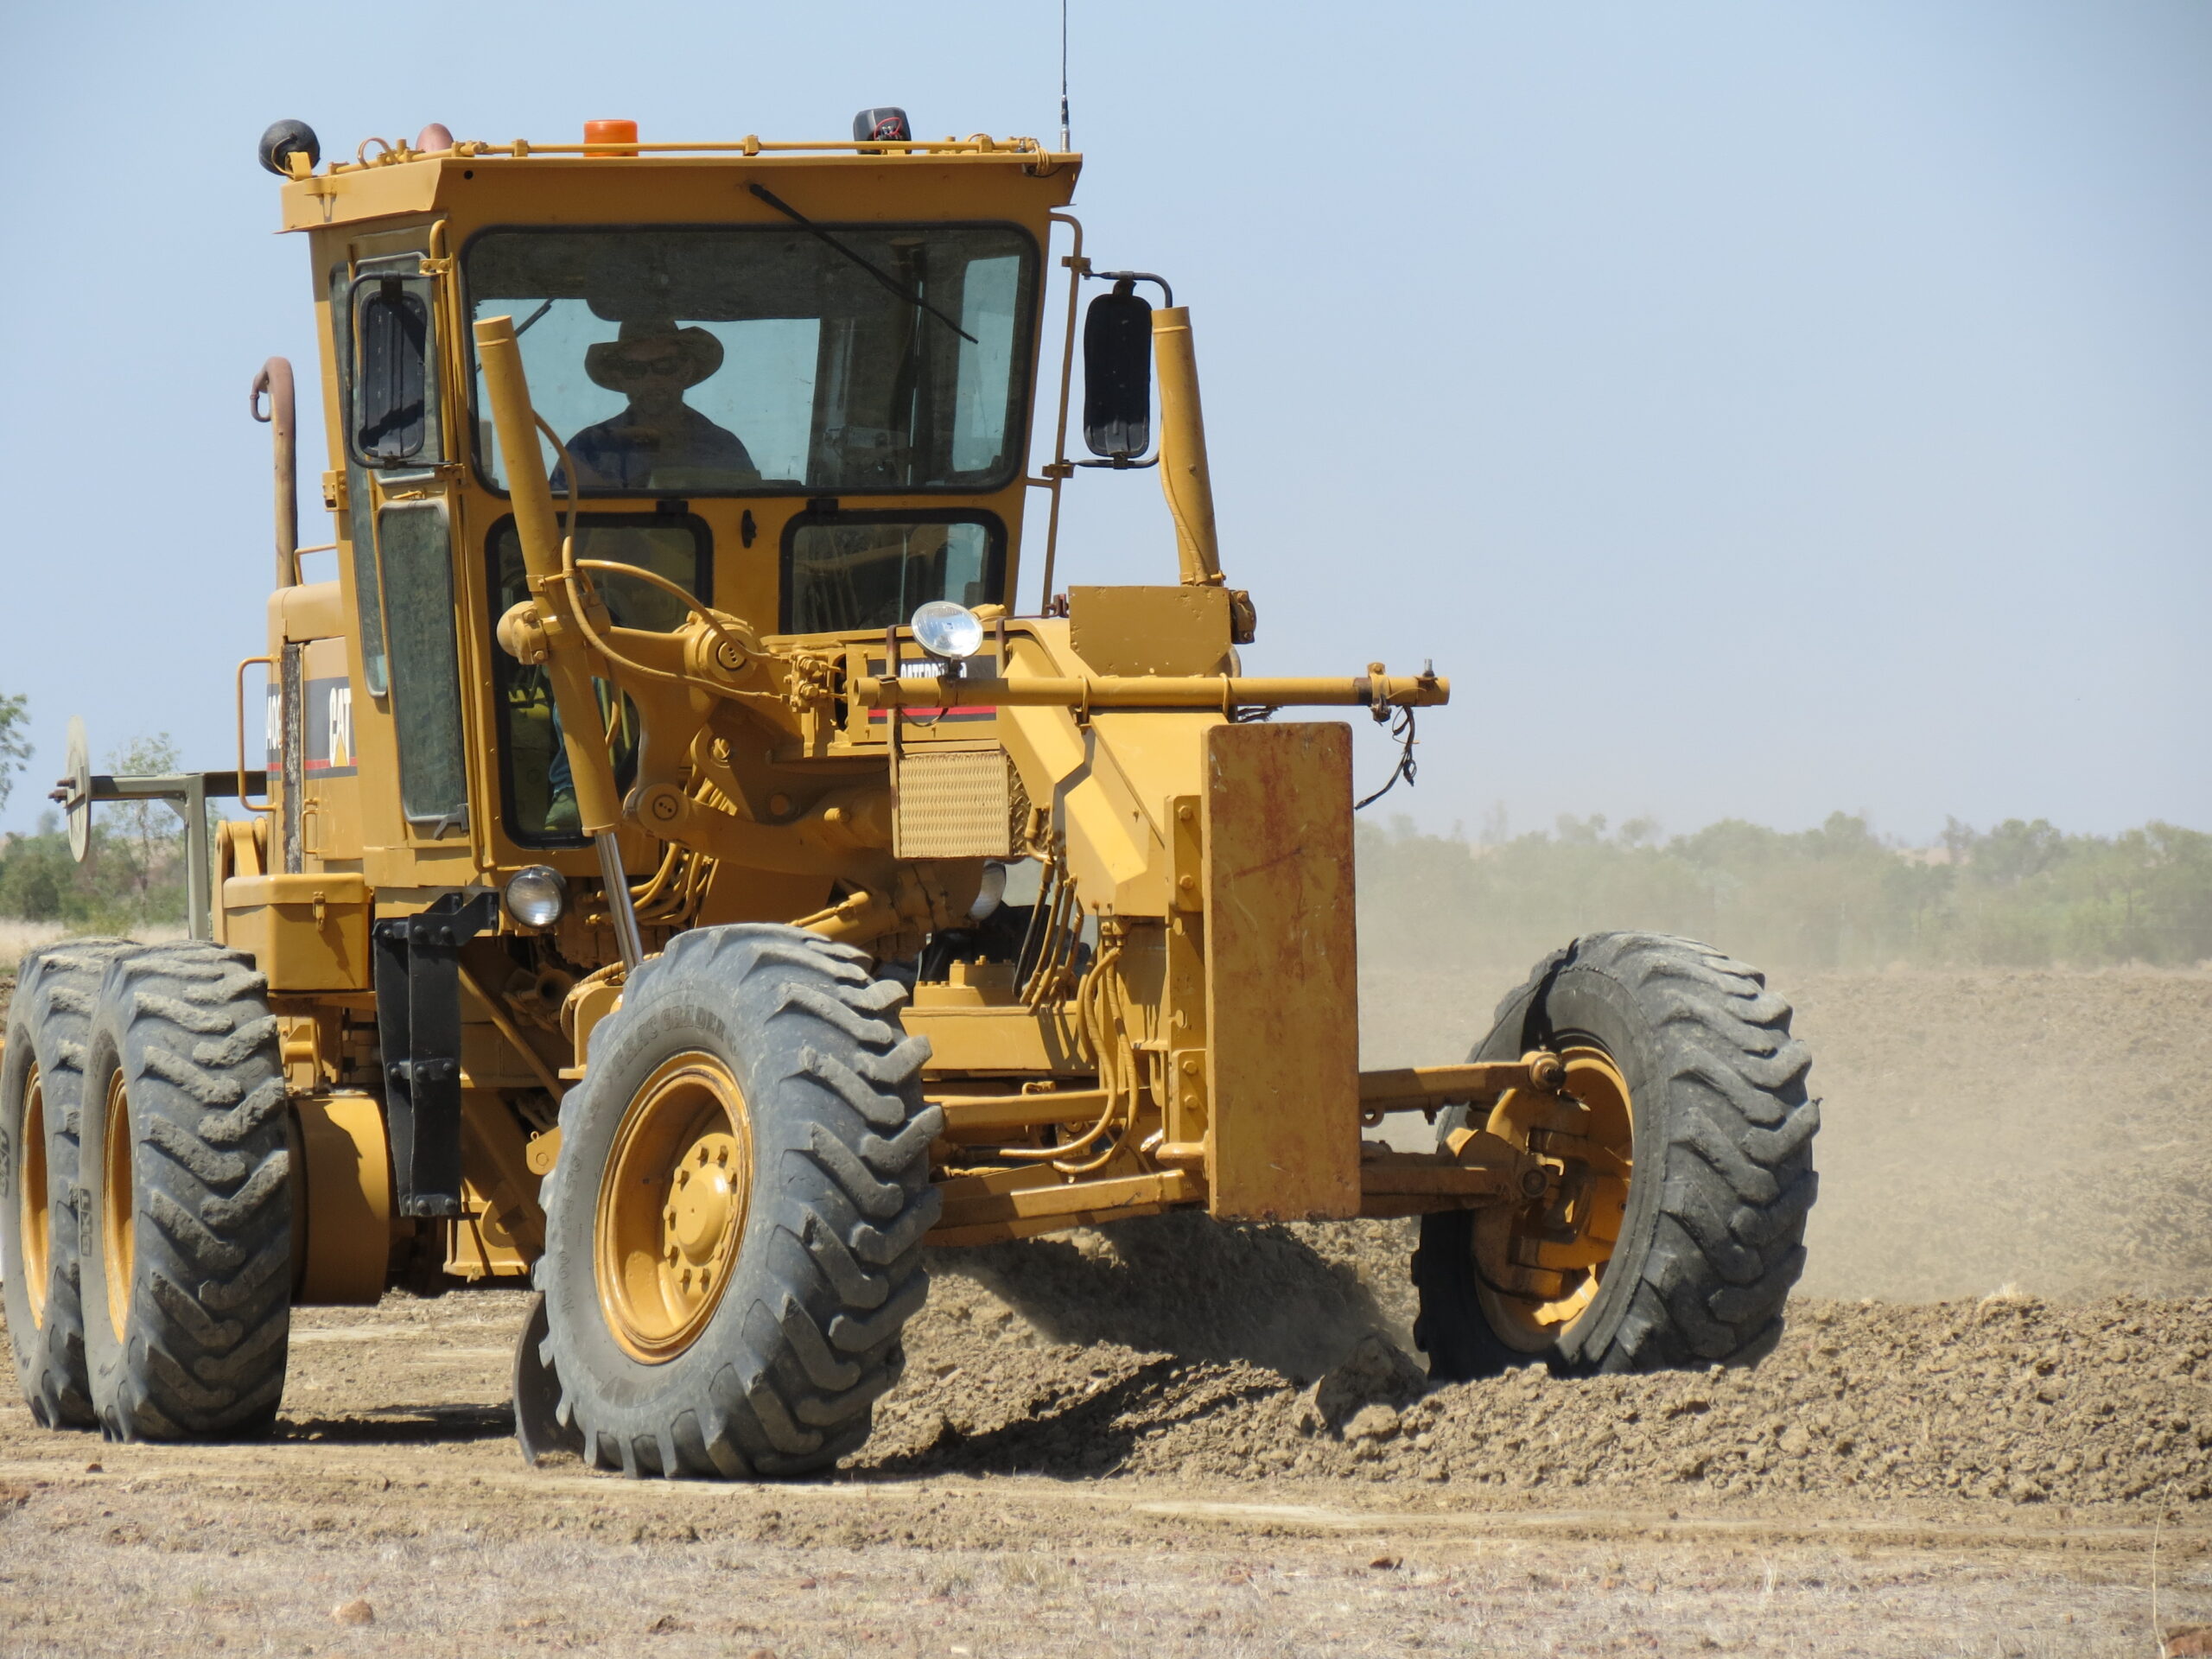
Building waterponds with a road grader
Waterponds slow the flow of water and give it an opportunity to soak into the soil. This is because plants can only utilise rainfall when it becomes available as soil moisture.
A successful waterponding project involves four steps:
1) planning,
2) surveying,
3) building, and
4) management post construction.
In this presentation we focus on the third stage: building waterponds with a grader. Join Matt Fletcher (Development Officer – Department of Primary Industries and Regional Development, Western Australia), Ray Thompson (Rangeland Rehabilitation) and Jardine Mcdonald (Program Manager – Rangelands NRM) when they discuss the optimum building process.
It costs approximately $225 (2020) to waterpond one hectare (including construction and survey), which can be easily lost if ponds are not built to specification. For example, building past the survey end results in an increased depth of water being ponded and often results in a breakage and draining the pond of water.
Conversely, ponds built to specification can have a lifespan of 20 years with little maintenance.
You can watch the full recording or use the playlist below to jump to the start of a particular section within the presentation. 57:31; published 27 April 2020 by FutureBeefAu.
Download a copies of the presentations – Building a waterpond-Part-1 (PDF, 7.78 MB) and Building a waterpond-Part-2 (PDF, 3.37 MB).
Additional resources:
A full length video has been developed on ‘Building waterponds with a road grader’ by the West Kimberley Land Conservation District Committee (21:19; published 27 April 2020 by FutureBeefAu) and you can watch it here.
Full recording
Playlist
-
- Disclaimer
- Building waterponds with a road grader (Matt Fletcher)
- Our presenters
- Waterponding
- Scalded areas and thick crusts
- 30 cm of sandy loam top soil lost
- Shrink and swell action
- Cracking of soil
- Other rehabilitation work
- Trialling different graders
- Four steps in a waterpond project
- Laser survey gear and tine markers (Ray Thompson)
- Typical waterponding configuration
- Scoping scald – horseshoe waterponds
- Flat scalds – circle waterponds
- Key points for waterponding construction
- First pass following the survey line
- Seed boxes and rippers
- Ripping across the waterpond
- Bank construction – the first pass
- Second pass
- Seeding the bank
- Third pass of construction
- Big horsepower machines are most efficient
- Freeboard on ponding bank
- Old Man saltbush seed germination
- Bringing soil back to life through waterponding (Jardine McDonald)
- What we did…
- Restoring balance to the water cycle
- Before and after…
- Monitoring site photos
- Before and after – grazing management
- The numbers…
- Key lessons and challenges
- Where to next?
Related resources
Spreader banks for water retention at Charleville (case study) →
Gully erosion — Options for prevention and rehabilitation (booklet) →
Addressing erosion issues in the Southern Gulf after dry years and a 1-in-100 year flood (case study) →