Establishing summer growing perennial legume-grass pastures in central and southern Queensland
Planting new pastures or improving existing ones can increase the productivity and profitability of a grazing business. Sown pastures can lead to increased animal weight gain and stocking rates. Additionally, including specific legumes can even reduce methane production. While establishing summer growing legumes and grasses can be time consuming and expensive, both research and practical experience show that investing in the following steps pays off in the long term.
Overall, these steps are broadly the same as what a farmer would follow for planting a crop. However, for establishing a pasture there are other unique considerations. These include the starting state of the paddock, machinery availability, unpredictability of seed quality and supply, and the need to sow seeds on or just under the soil surface for reliable establishment. The steps outlined here aim to reduce the risk of a failed establishment, particularly in environments with highly seasonal and variable rainfall.
Checklist
- Choose paddocks and land types that are suitable for development and offer the best return
- Determine the right establishment method for the chosen paddock
- Plan paddock operations around rainfall so that moisture can be stored in the soil profile and planting can occur at the best time for successful germination
- Prepare the paddock to manage weeds and store moisture, and create a good seed bed if not already present
- Take soil tests to inform fertiliser recommendations and confirm species suitability
- Request a recent germination report before purchasing seed
- Choose species that match the climate, soil type and business goals
- Consider the use of the correct rhizobia for legumes
- Plant at the right depth for the species chosen
Choosing suitable paddocks and the right establishment method
When selecting a paddock for development and choosing the right establishment method, there are a couple of factors to consider. These include the suitability of the paddock for development and return on investment, the starting pasture condition, and how arable and accessible the paddock is for machinery.
Cleared paddocks with desirable species require less inputs compared to those with unproductive grass, like Indian Couch, or a weedy grass like Giant rats tail. While paddocks with dense timber or obstacles like stumps and rocks are more challenging, pasture improvement is still possible.
Not all paddocks need to be prepared and planted fence to fence, and sometimes this isn’t possible. Table 1 summarises establishment method options for paddocks with different starting points. If legumes and/or grasses are to be planted in strips or zones, ground preparation is only needed in these areas resulting in a lower cost.
Before starting any preparation, it’s helpful to understand the land type of the selected paddock. Landtype sheets provide an indication of the soil properties and recommendations of suitable sown species. These are a great resource for determining a paddock’s suitability for development.
Overall, the more arable the paddock and the more fertile the land type, the cheaper and faster it is to establish a quality legume-grass pasture.
Establishment method options for paddocks with different starting points.
| Paddock landscape | Existing pasture condition | Establishment method | Plant | ||||||
|---|---|---|---|---|---|---|---|---|---|
| Cleared with easy machinery access | Desirable species and in good condition | Prepare and plant into strips | Legume only | ||||||
| Undesirable species or in poor condition | Prepare and plant into the whole paddock | Grass and legume | |||||||
| Timbered or difficult machinery access | Desirable species and in good condition | Prepare and plant into strips or zones where possible | Legume only | ||||||
| Undesirable species or in poor condition | Prepare and plant into strips or zones where possible | Grass and legume |
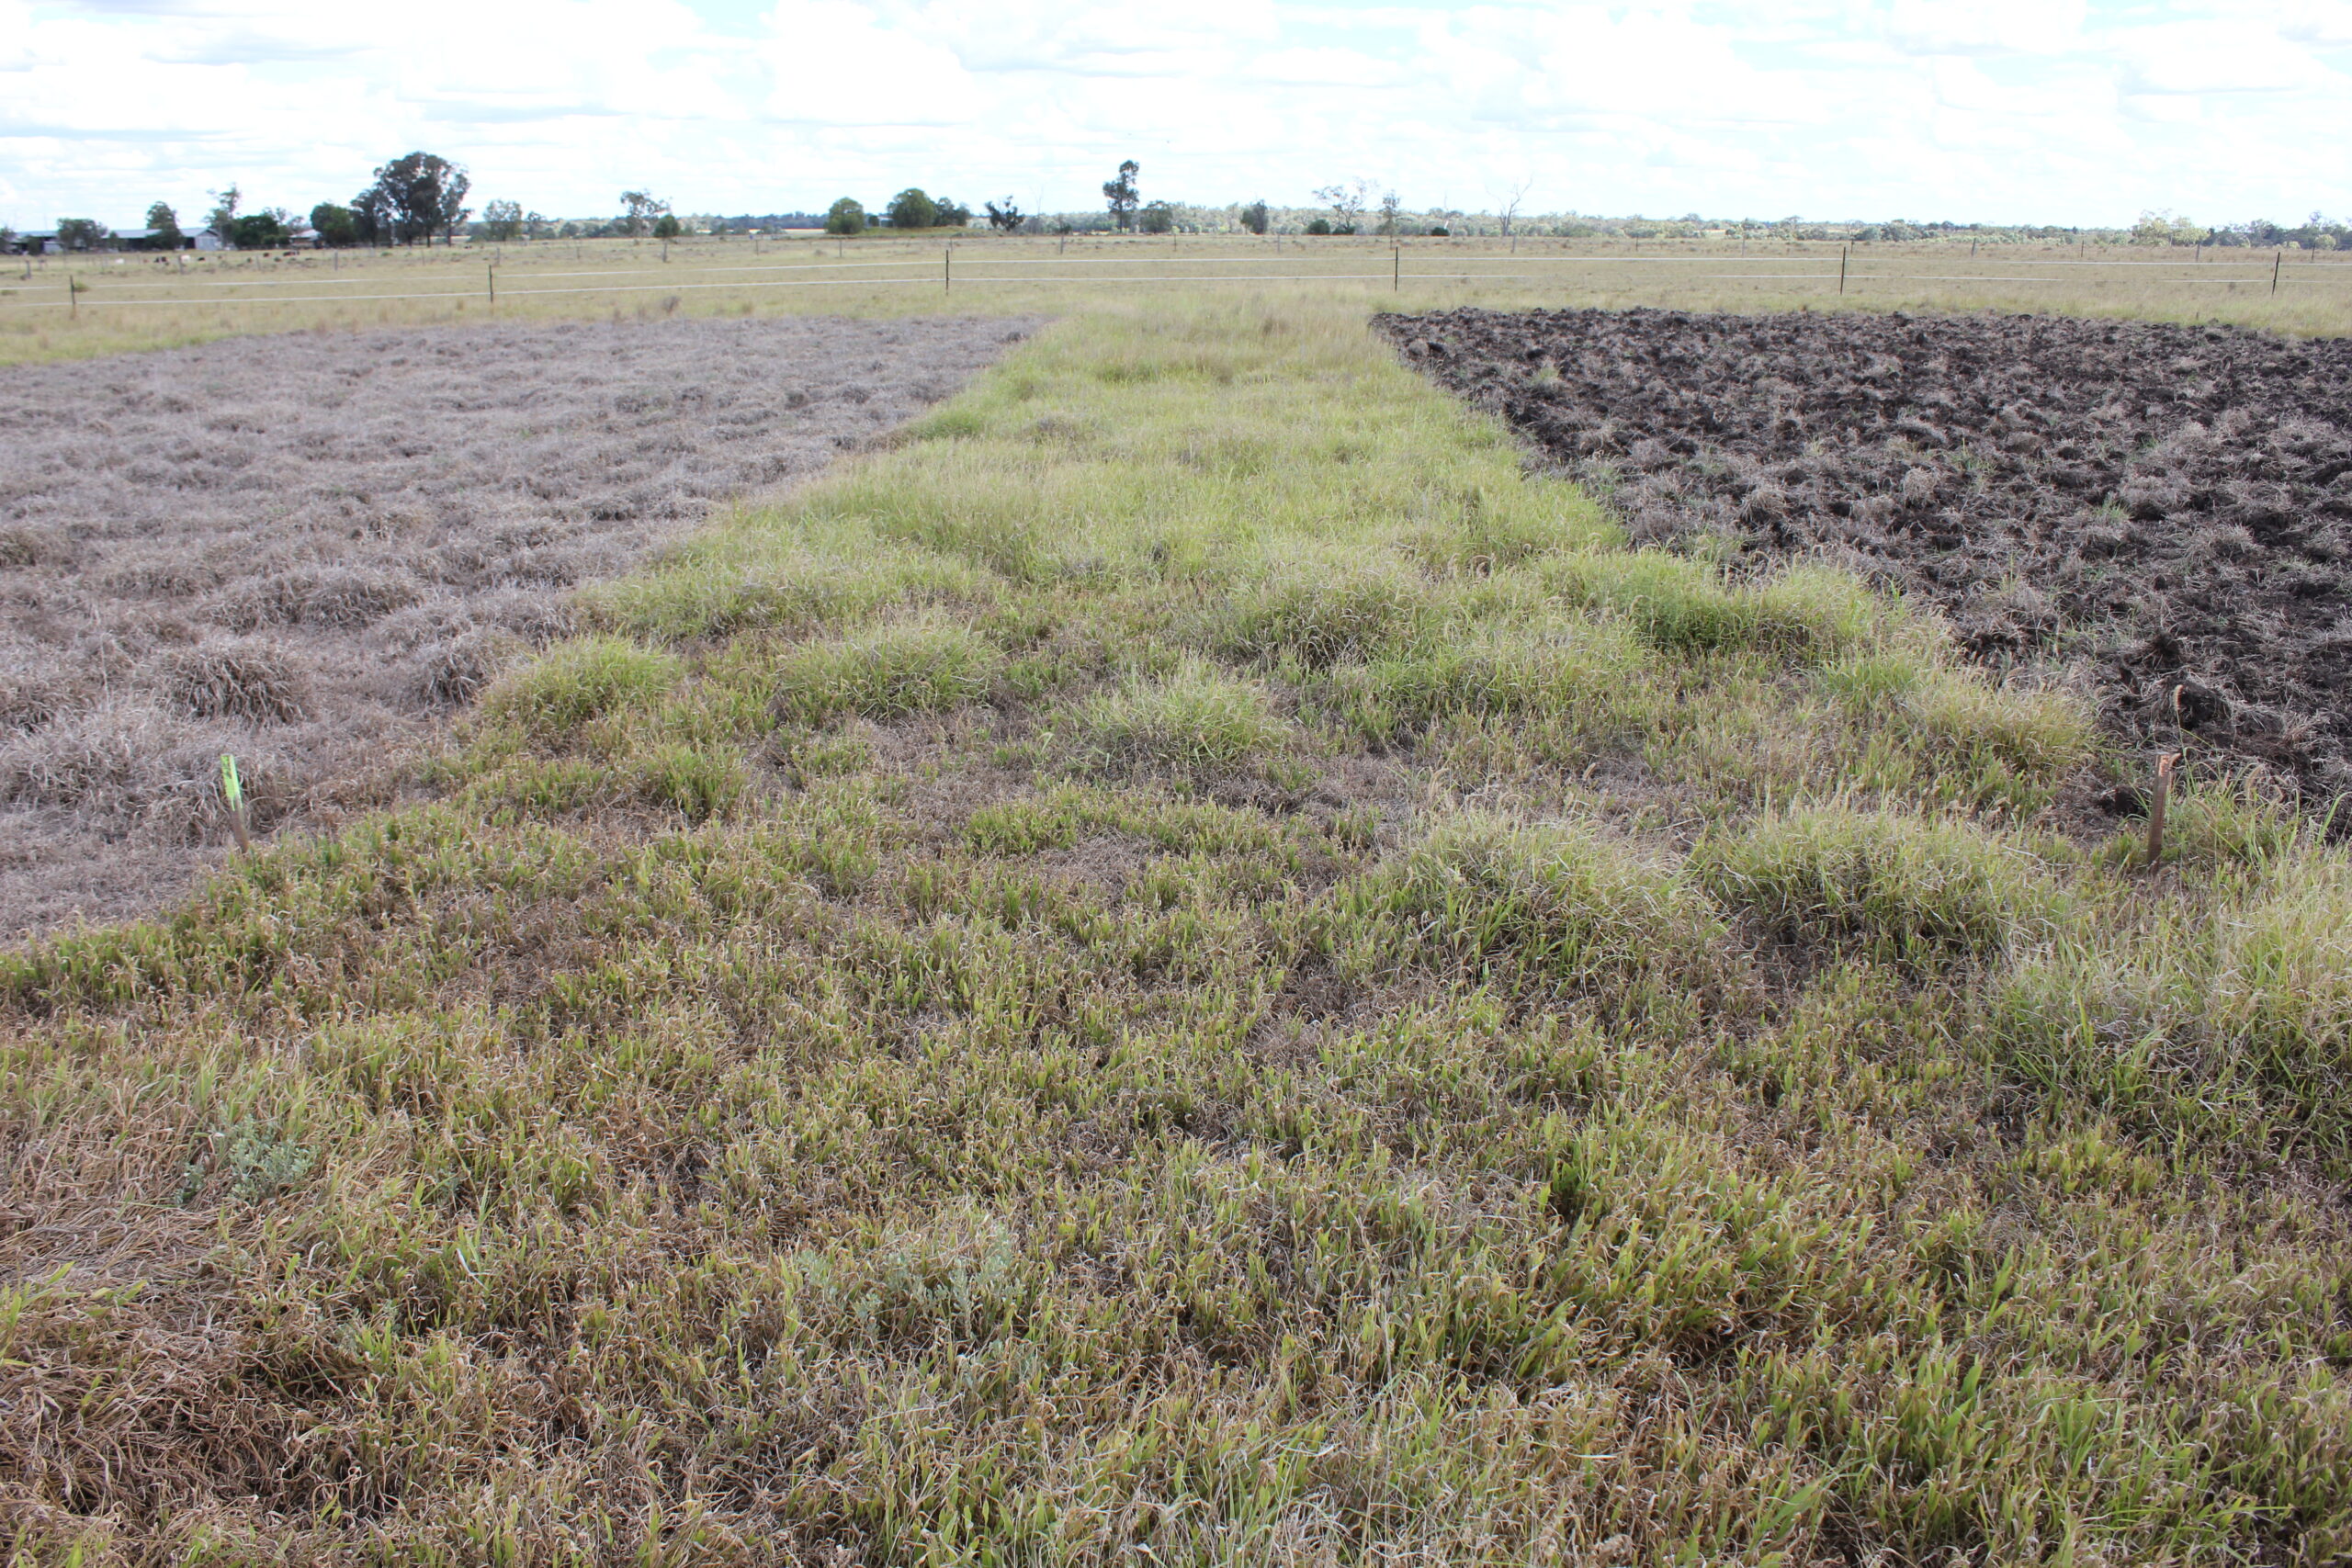
Planting into prepared strips
When planting legumes (or grass and legume) into an existing grass pasture, the width of the prepared strip is important. The remaining grass plants growing between these strips have a large root system and can take moisture and nutrients from the soil profile under the prepared strips.
A strip width of at least 4 m is suitable but 5 m is ideal. If cultivation or spray machinery is 5 m wide, preparing a 5 m strip and leaving a 5 m grass strip (and so on) will achieve 50% of the paddock being planted. Alternatively, more grass can be kept which reduces the number of strips and percentage of the paddock planted. For instance, preparing 5 m strips and leaving 10 m of grass will result in 33% of the paddock being planted.

Plan around rainfall
In central and southern Queensland, rainfall is the most critical factor to plan around when planting a pasture. Despite having a distinct ‘wet’ and ‘dry’ season, rainfall is highly variable. A fallow period should start with enough time to capture rainfall in the soil for planting, and planting should occur when there is a high chance of seed germinating and follow-up rain.
Fallowing is the process of killing all growing plants. When it rains, moisture is stored within the soil profile and not used up by grasses or weeds.
As a general rule for most soil types, a fallowed paddock needs approximately 200-250 mm of rainfall to obtain 50 cm of wet soil in the profile. To maximise establishment reliability, planting should occur when there is:
- at least 50 cm of stored soil moisture, and
- a high chance of at least 25 mm of rain to reliably germinate seeds, and
- a high chance of more rain within a month to maintain plant growth.
For most locations in central and southern Queensland, during an average rainfall year, fallowing typically begins between April and September and extends to December, with planting occurring in January or February.
Consult long term property or BOM rainfall data, to help plan when a fallow should start and when the planting window should be. Activities can be planned around rainfall, see example below.
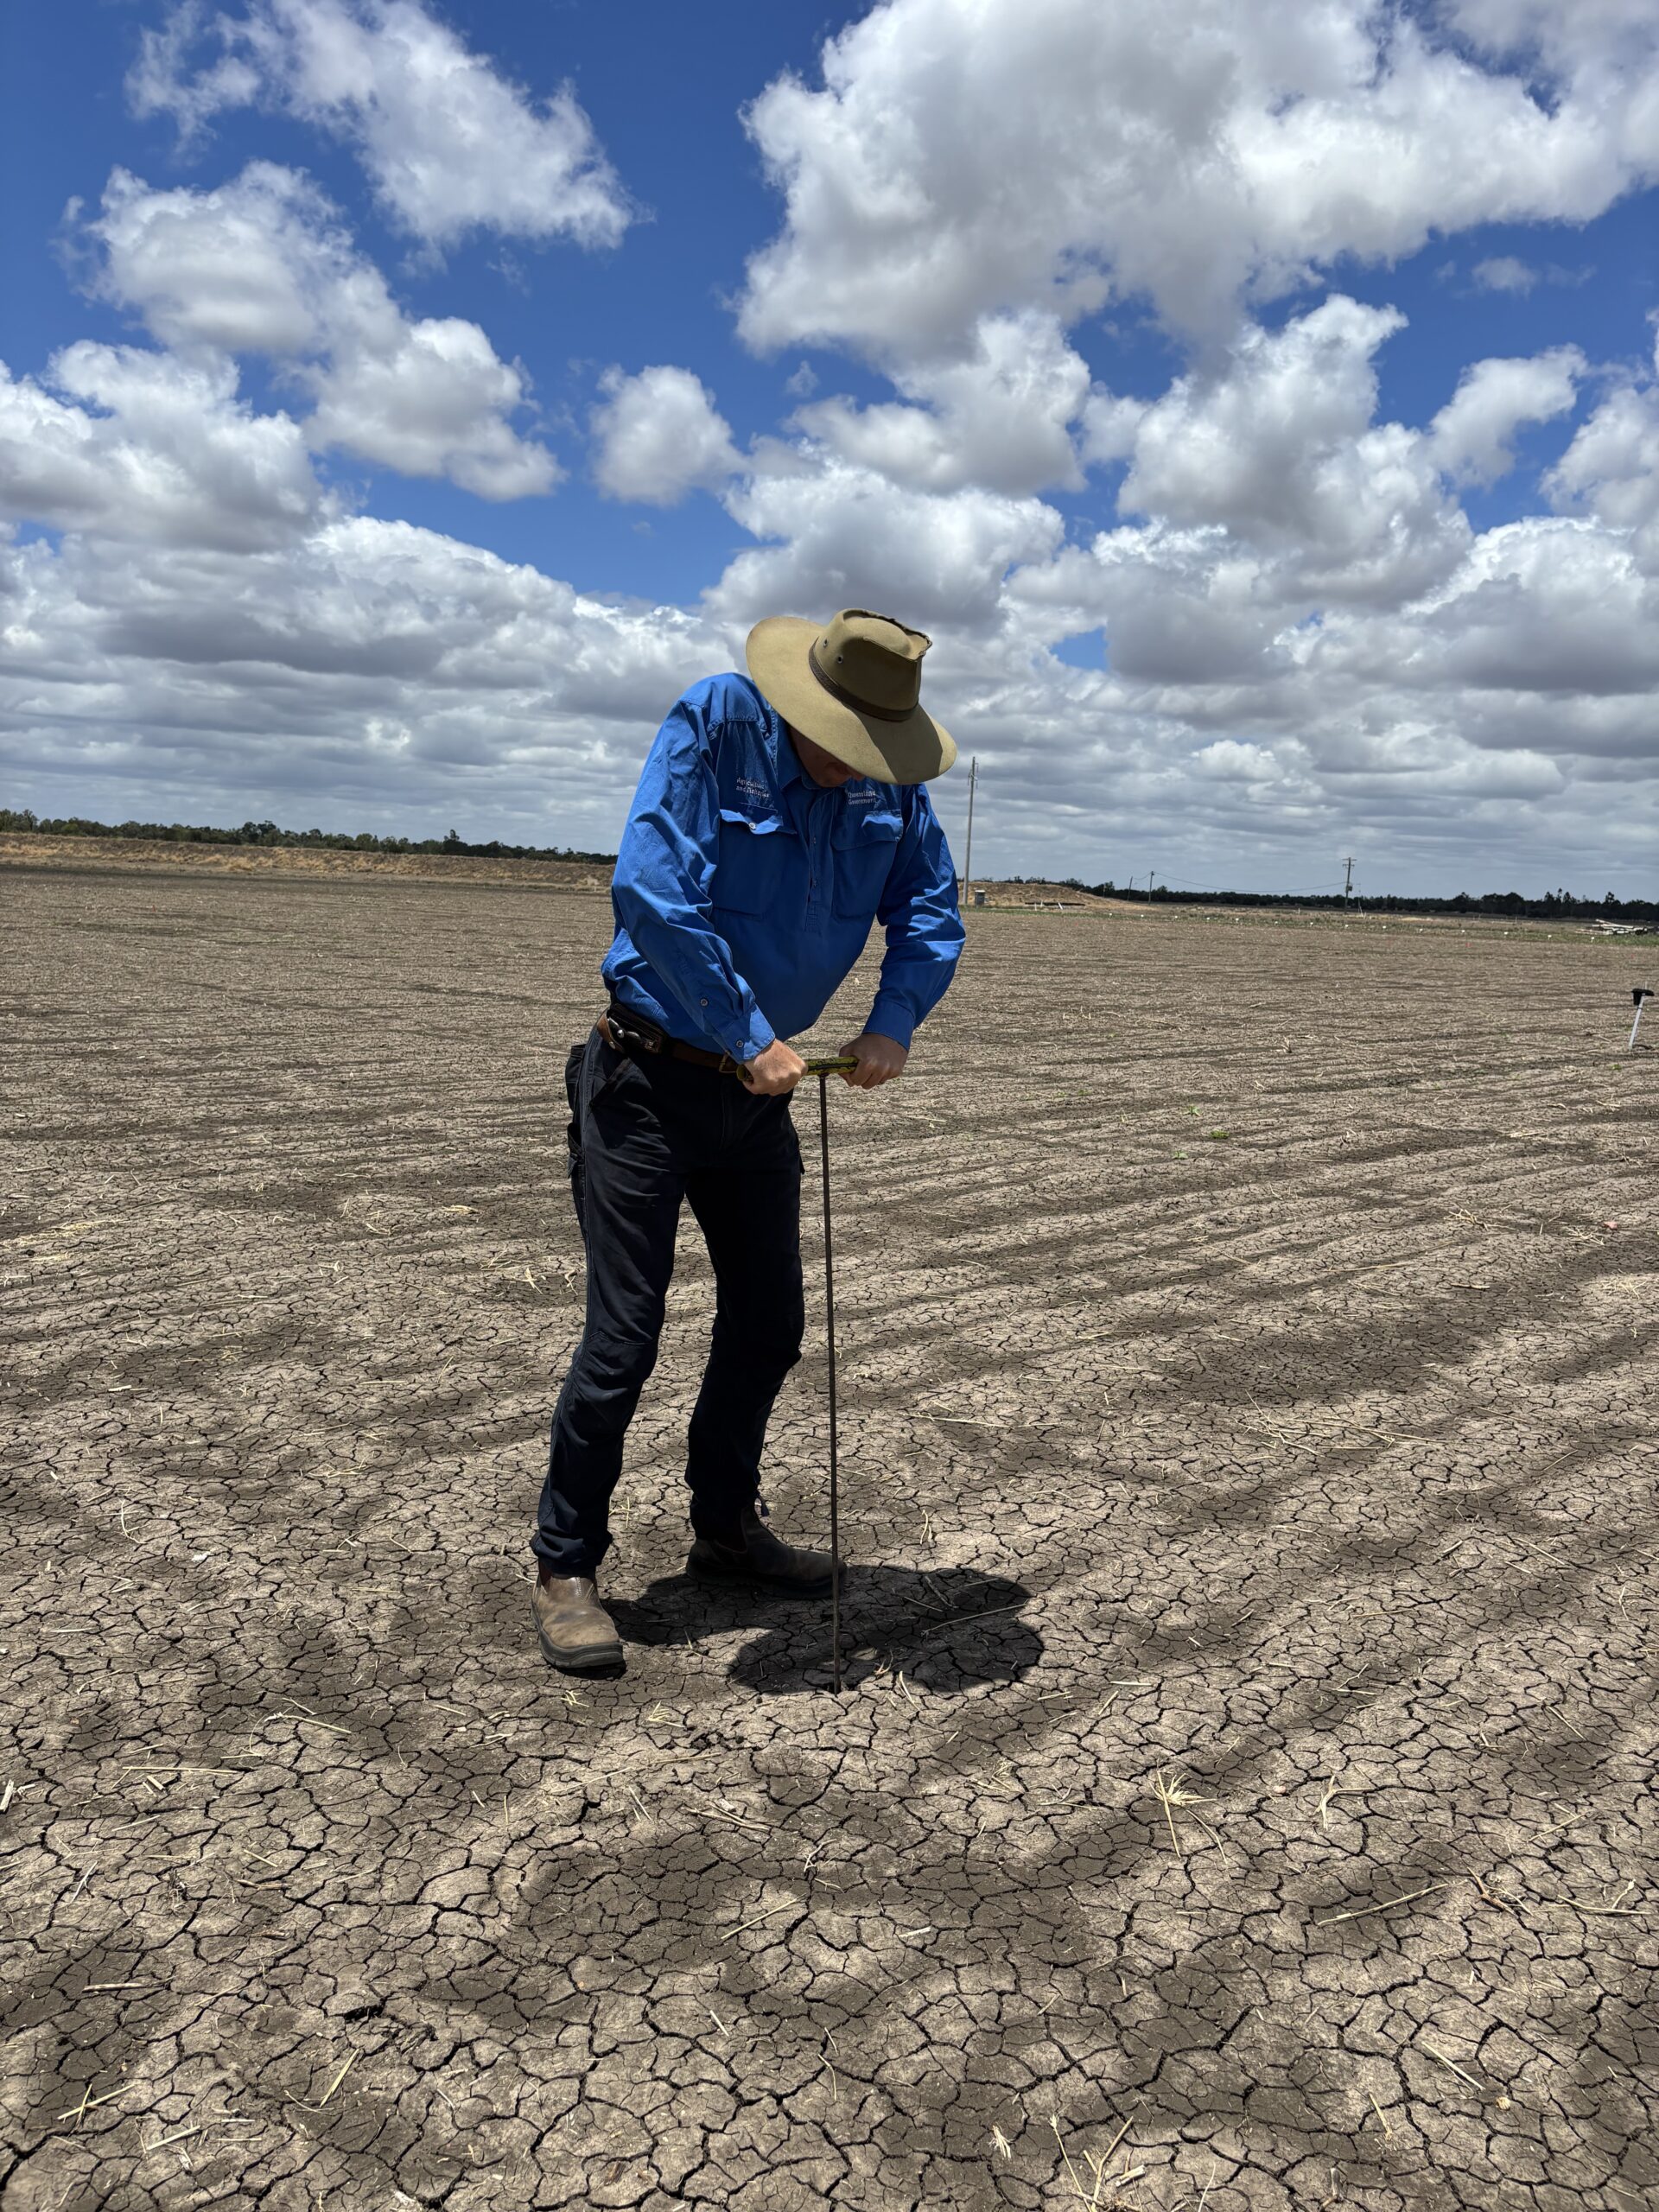
The depth of moisture in the soil profile can be determined with a simple DIY moisture push probe. These can be fashioned out of a steel rod with a handle at the top and a tapered point for easy penetration. When pushed into the soil, the resistance will significantly increase when the soil changes from moist near the top to dry further down the profile. Measuring the length of probe penetration will determine the moisture depth.
The longer the fallow, the higher the chance of storing more soil-moisture. This moisture is what the young seedings use if follow-up rain is not received soon after the germination rainfall event. This moisture ‘bank’ reduces the risk of a failed establishment.

Fallow to store soil-moisture and control weed competition
Fallowing is done before planting to store moisture; this greatly reduces the risk of germinated seedlings dying if follow-up rain is not received soon after planting. A fallow also provides an opportunity to control weeds that will compete with a germinating pasture by reducing the soil weed-seed bank.
Fallowing can be achieved with cultivation or herbicide or a combination of both. To begin, a paddock of grass can be grazed to utilise available feed before it is killed. Reducing the grass biomass can also make the first pass with cultivation machinery or a spray rig easier.
Maintaining a ‘clean’ fallow = after it rains and grass or weed seedlings emerge, another cultivation or spray is completed to remove them.

Herbicide fallow
If herbicide is used during the fallow, weeds need to be actively growing with green leaves for a reliable kill. If herbicide is used as the first step to kill the old pasture, the first spray will typically happen in spring or early summer. However, depending on the timing of the early wet-season rain this may or may not provide enough time to store sufficient moisture before planting. A benefit of using an herbicide fallow is to maintain a layer of dead grass material (mulch) on the soil-surface. This mulch provides ground cover, which improves rainfall infiltration and reduces evaporation. Be aware, though, that a thick layer of mulch can limit the options for planting equipment to achieve placement of seed onto the soil surface.
For herbicide fallows, tractor mounted/trailed spray equipment is commonly used. Although, aircraft, helicopters and drones can also be used when ground access is difficult.
Cultivated fallow
A mechanical cultivated fallow is particularly useful on hard-setting soils that need breaking up to achieve a seed-bed for reliable germination. Cultivation also kills grass and other weeds at the same time. Where a dense grass pasture is present, cultivating can be slow, and multiple passes might be needed for an adequate kill. In such cases, an initial herbicide spray to kill the grass or cross ripping, may assist with the first cultivation pass.
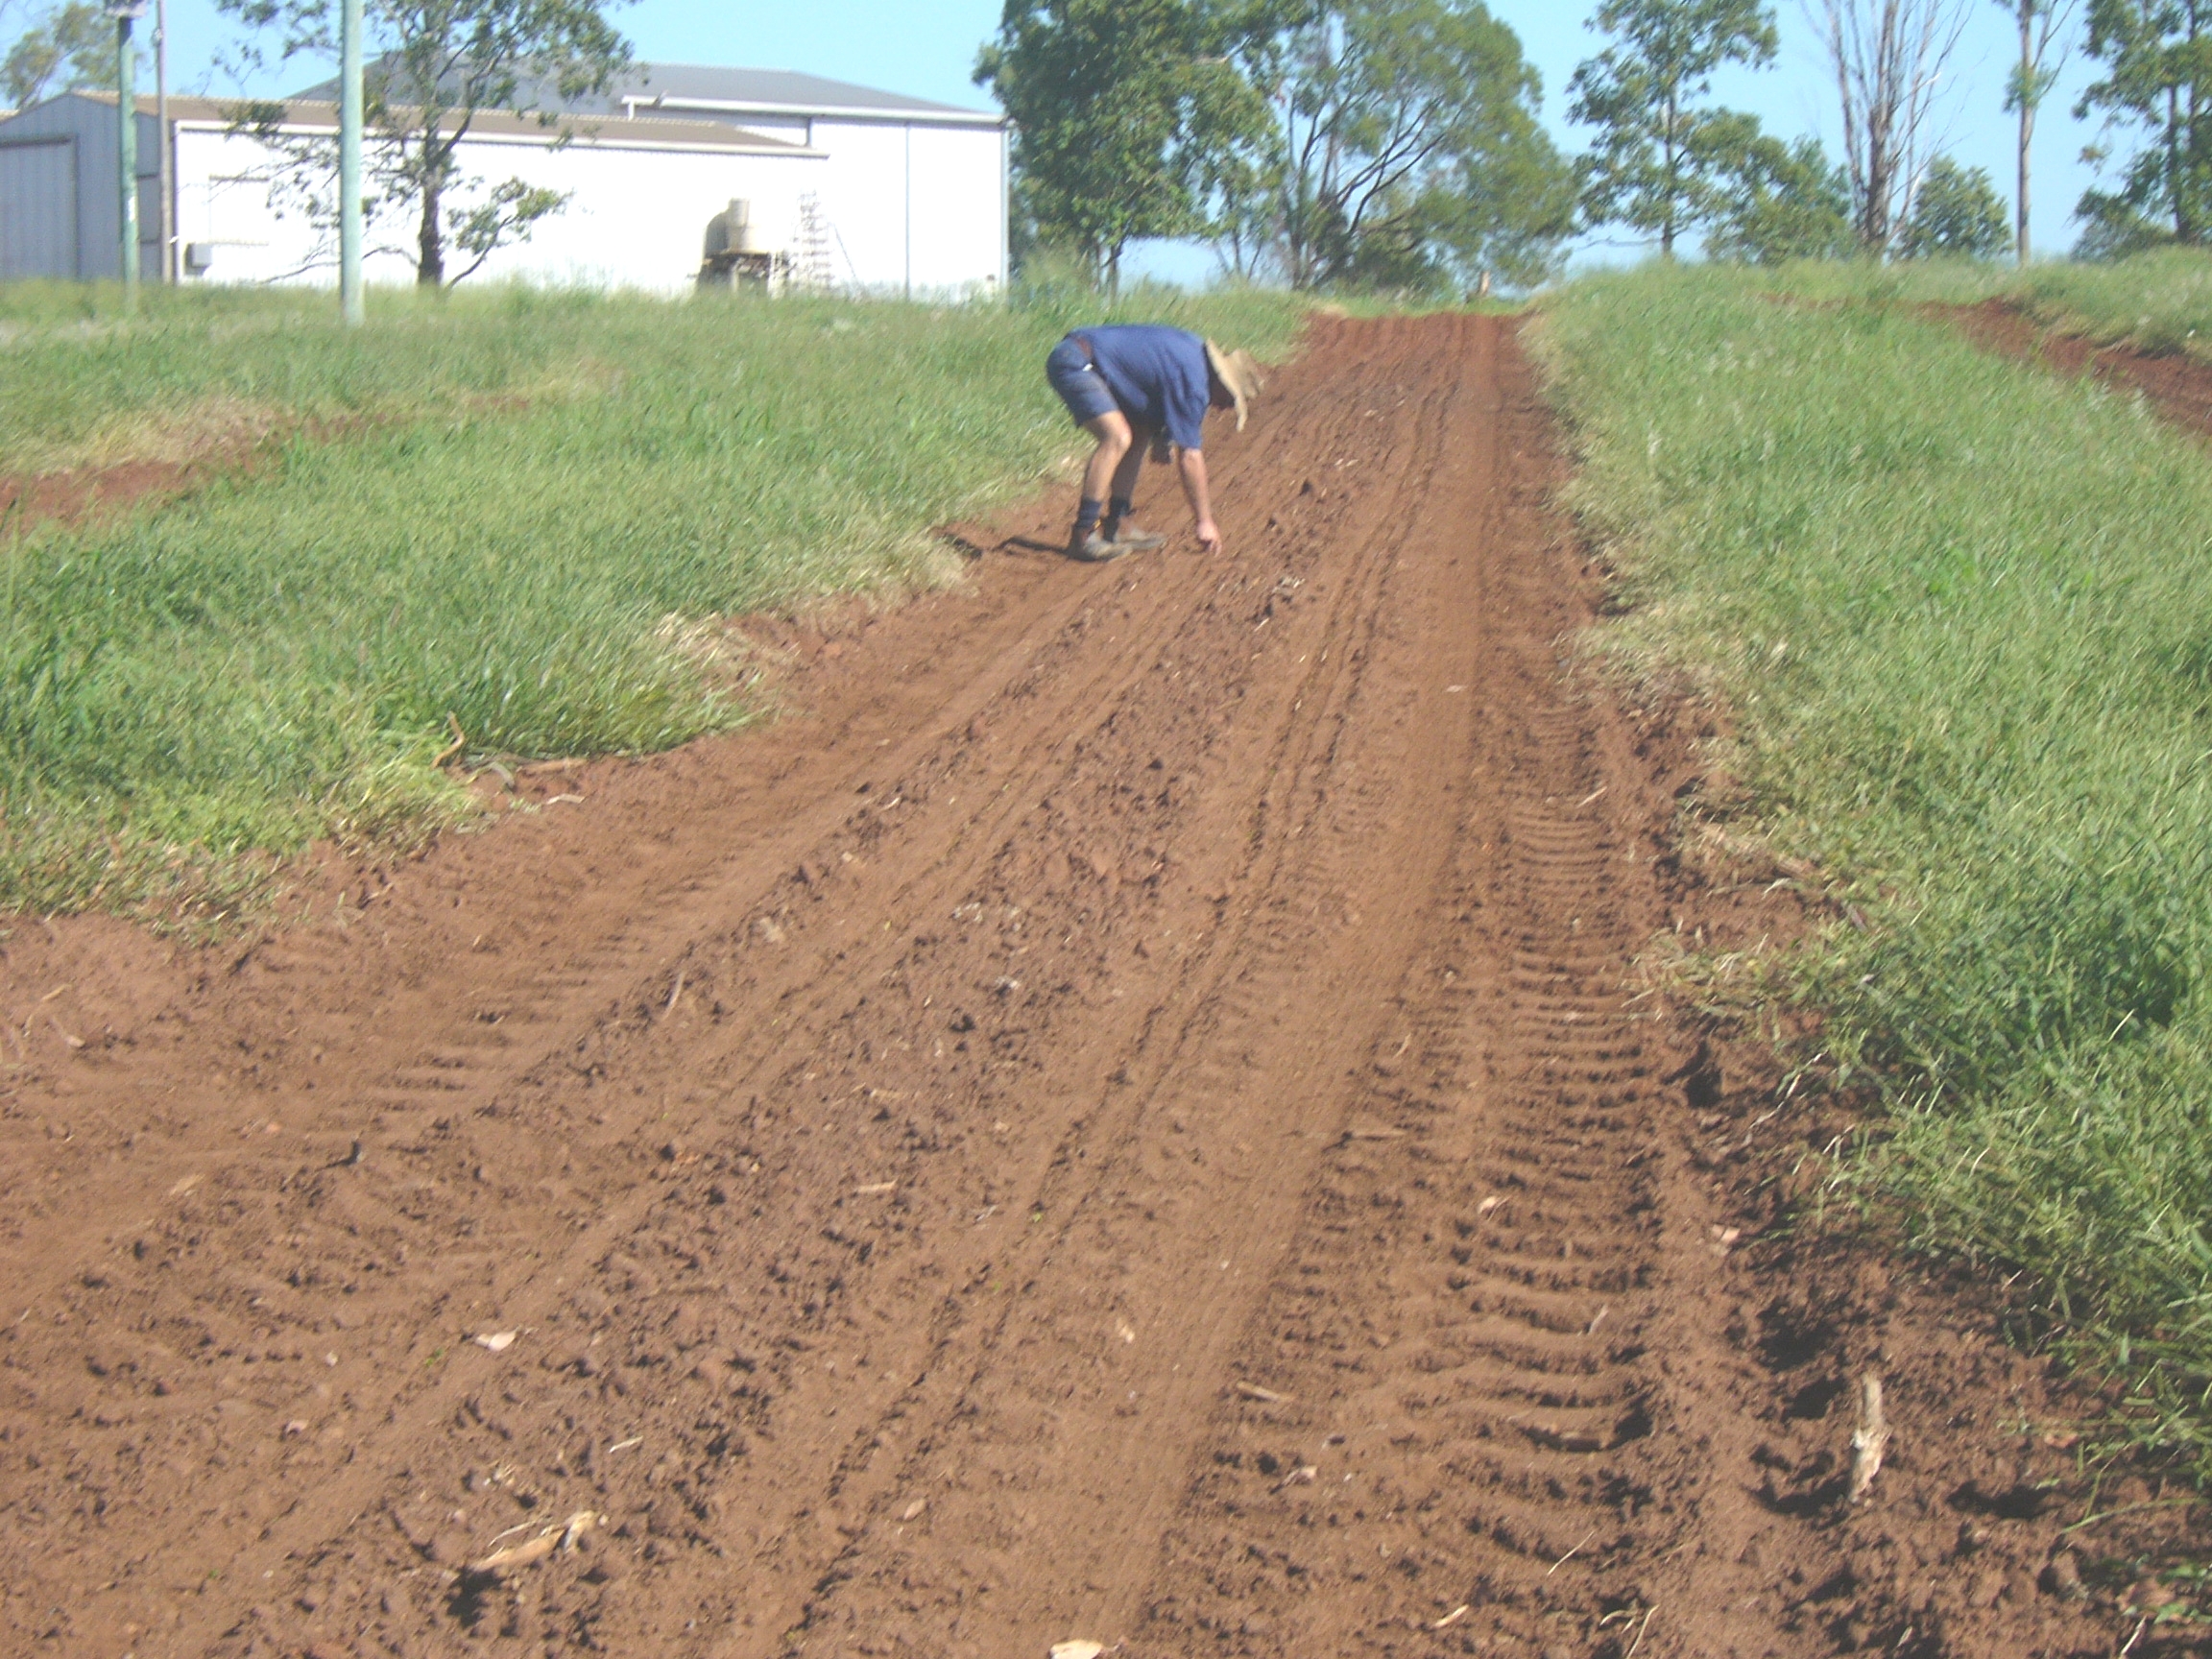
Preparing the seed bed
Depending on the soil type, several passes with cultivation equipment may be needed to prepare a seedbed with good tilth. Tilth refers to how cloddy or fine the soil is. The aim is to achieve the right environment for small seeds to have contact with the soil without being buried too deeply. Hard-setting soils may need several cultivations to break up crusted surface aggregates, whereas self-mulching soils may need little or no cultivation.
The seed bed should be as even as possible, with no large clods, rills, furrows or deep cracks. It should be fine and firm and not crusted.
Soft and fluffy soils (like self-mulching cracking clays), or soils that have been cultivated to a fine tilth, may need to be rolled before planting. This prevents seeds from being buried amongst large air pockets between the soil aggregates and ending up too deep. Rolling also slightly compacts the soil, allowing for uniform wetting when it rains, improving seed germination.

Soil test and fertilise if required
A soil test can identify issues such as salinity, sodicity or shallow soil depth that can reduce pasture productivity. It is also essential to understand the nutrient status of the soil and whether fertiliser is needed. Certain pasture species, such as some legumes, are particularly sensitive to nutrient deficiencies and these issues should be addressed before planting.
Soil tests are best conducted by a local agronomist. It is important to take soil samples from the full depth of the soil profile, especially when sowing a deep-rooted plant like leucaena. Typically, samples are taken to 90 cm where possible using increments of 0-10 cm, 10-50 cm, and 50-90 cm.
An agronomist can also help interpret the results and provide fertiliser recommendations specific to the soil and situation. Depending on the fertiliser required and machinery available, fertiliser can be applied either during the fallow, or just prior to or at planting.
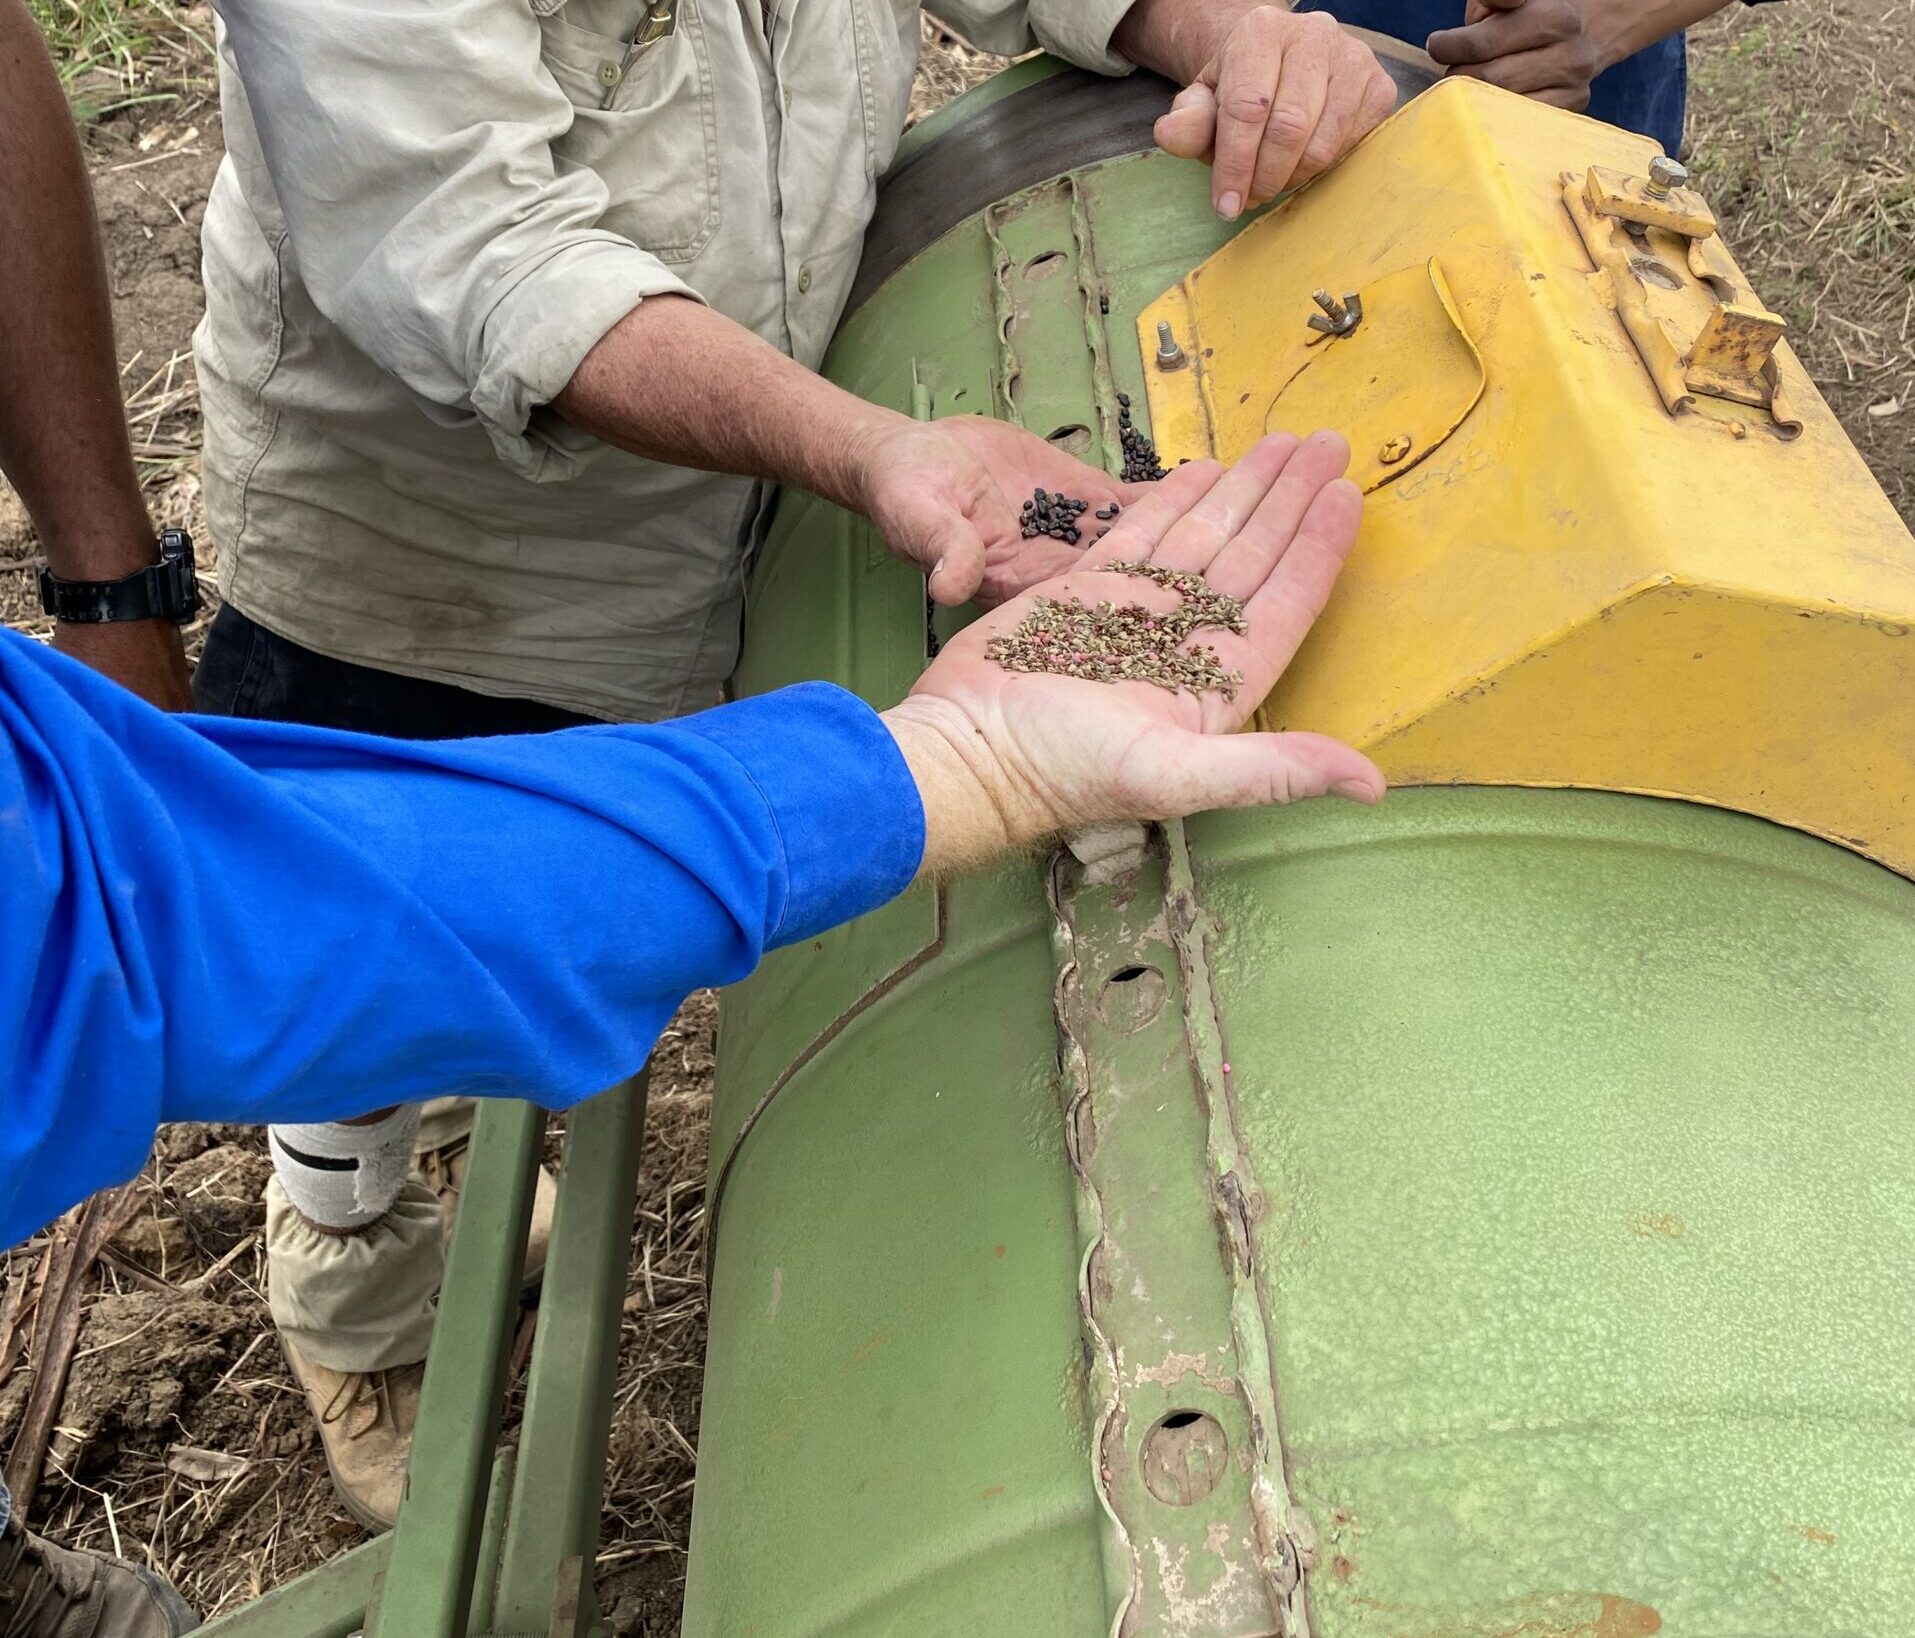
Source high-quality seed
The supply and quality of tropical grass and legume seeds can vary from year to year depending on seasonal conditions. To ensure enough seed is purchased for planting, it may be necessary to place orders well in advance. The storage of seed significantly affects its viability, so knowing how the seed was stored before purchasing is important.
When purchasing seed, request a recent (no older than 6 months) germination report from the seller.
The germination report should provide:
- % normal (seed that germinated successfully during the test period)
- % abnormal growth (seed that is less likely to emerge in the field)
- % fresh (dormant grass seed) or % hard (dormant legume seed)
- % dead (seed that will never germinate)
- % empty (seed shell but no seed inside)
- % purity (presence of chaff and/or other seeds, e.g., weeds)
- seed count (seeds/kg).
These are needed to calculate a seeding rate to achieve a target population of plants in the pasture. A good initial population to aim for with legumes is 4 plants/m2. If a new pasture is sown with grasses and legumes, then a total of 8 – 10 plants/m2 established will produce a productive pasture. However, a higher plant population might be suited for areas with higher rainfall or irrigated situations.
Seed coating can be useful if planting fluffy seeds (like buffel) with a planter designed for smooth seeds. However, if planting smooth seeded varieties (like panics), it is usually more cost effective to purchase uncoated seed.
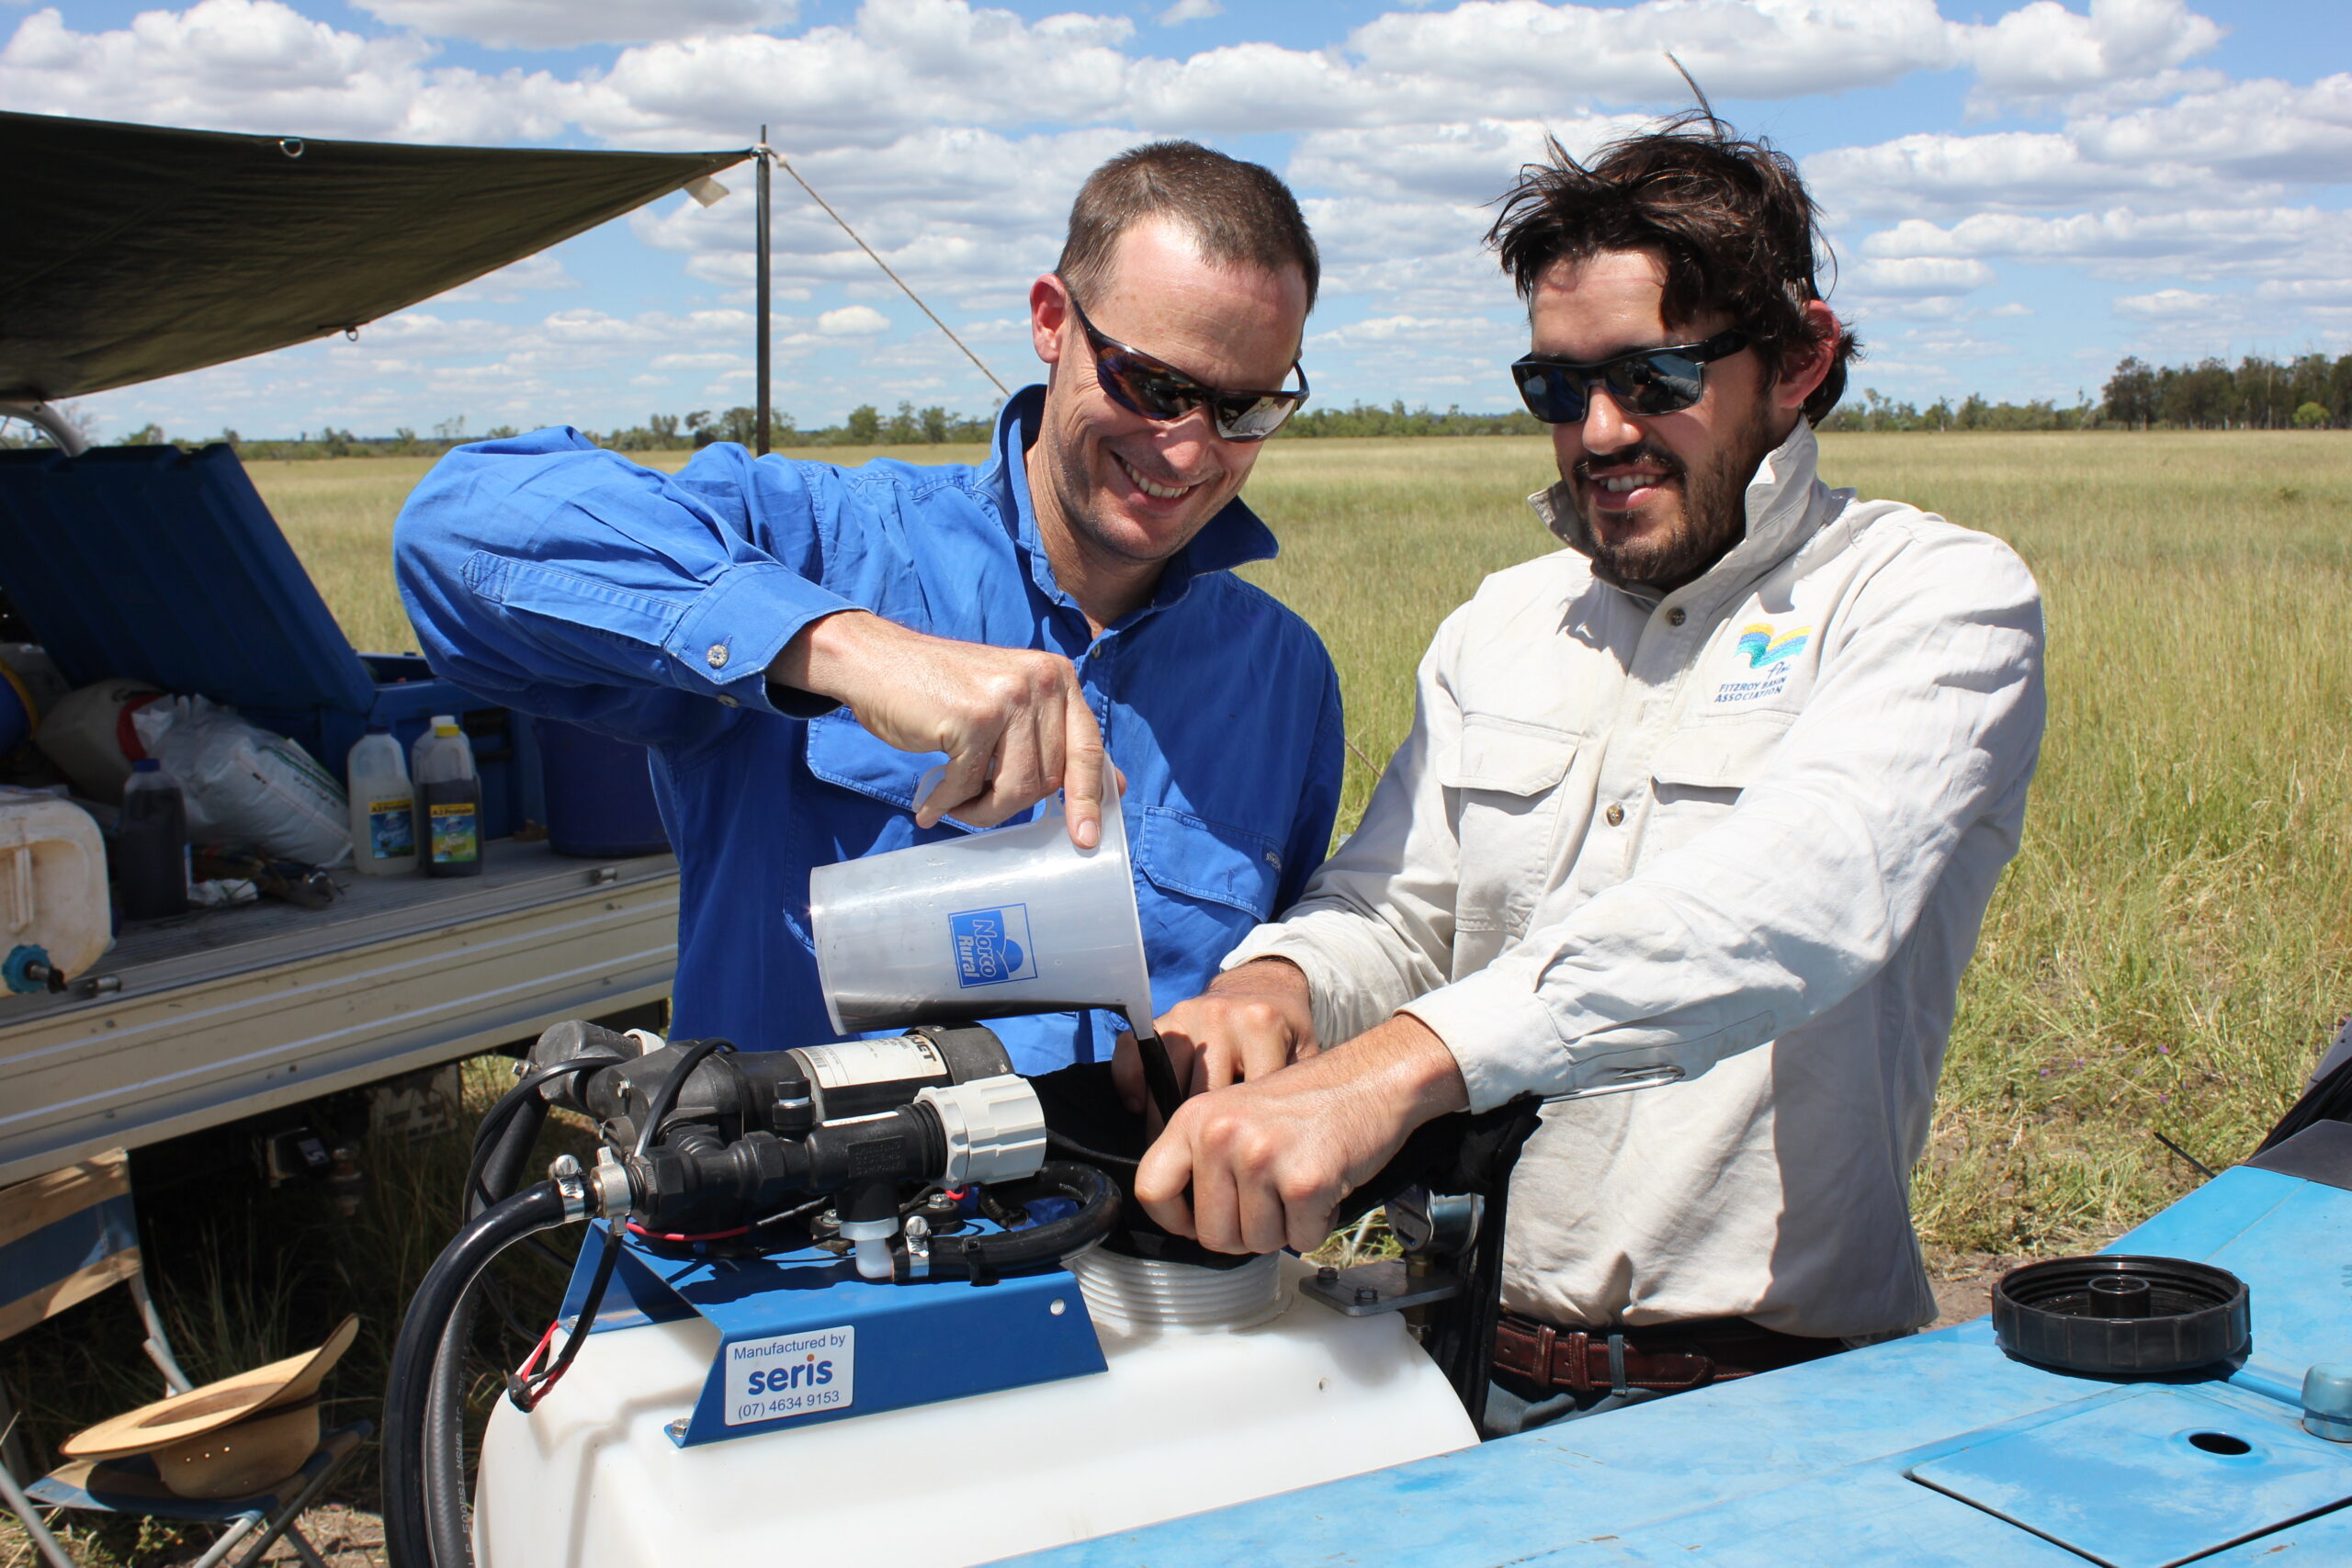
Consider rhizobia
Rhizobia is a bacterium that forms a symbiotic relationship with the roots of legumes to create nodules. The nodules are where nitrogen is taken from the air and turned into plant available nitrogen for the legume plant to use – called the nitrogen fixation process. If the right strain of rhizobia is not used, or if no rhizobia is used at all, legumes may not fix nitrogen and perform to their full potential. Some legumes can form nodules and fix nitrogen with native soil rhizobia whereas others have specific bacteria requirements. When purchasing seed, it is important to ensure the correct rhizobia is available and once purchased, stored in a cool dry place until ready to use.
When using rhizobia it is important to closely follow the instructions on the packaging. Typically, rhizobia should be applied to the seed on the day of sowing, and treated seed needs to be stored away from the sun otherwise rhizobia will die. Alternatively, rhizobia can be water-injected into the seed furrow using specialised equipment.
Choose species suited to soil type and climate
The type and cultivar of legumes and grasses need to be selected based on the soil type, climate and the intended use of the pasture. If no further replanting of the paddock is desired, there is little benefit choosing an annual or short-term legume when a long-term perennial option is better suited. The table below summarises the common legume and grass species and their soil and climate suitability for central and southern Queensland.

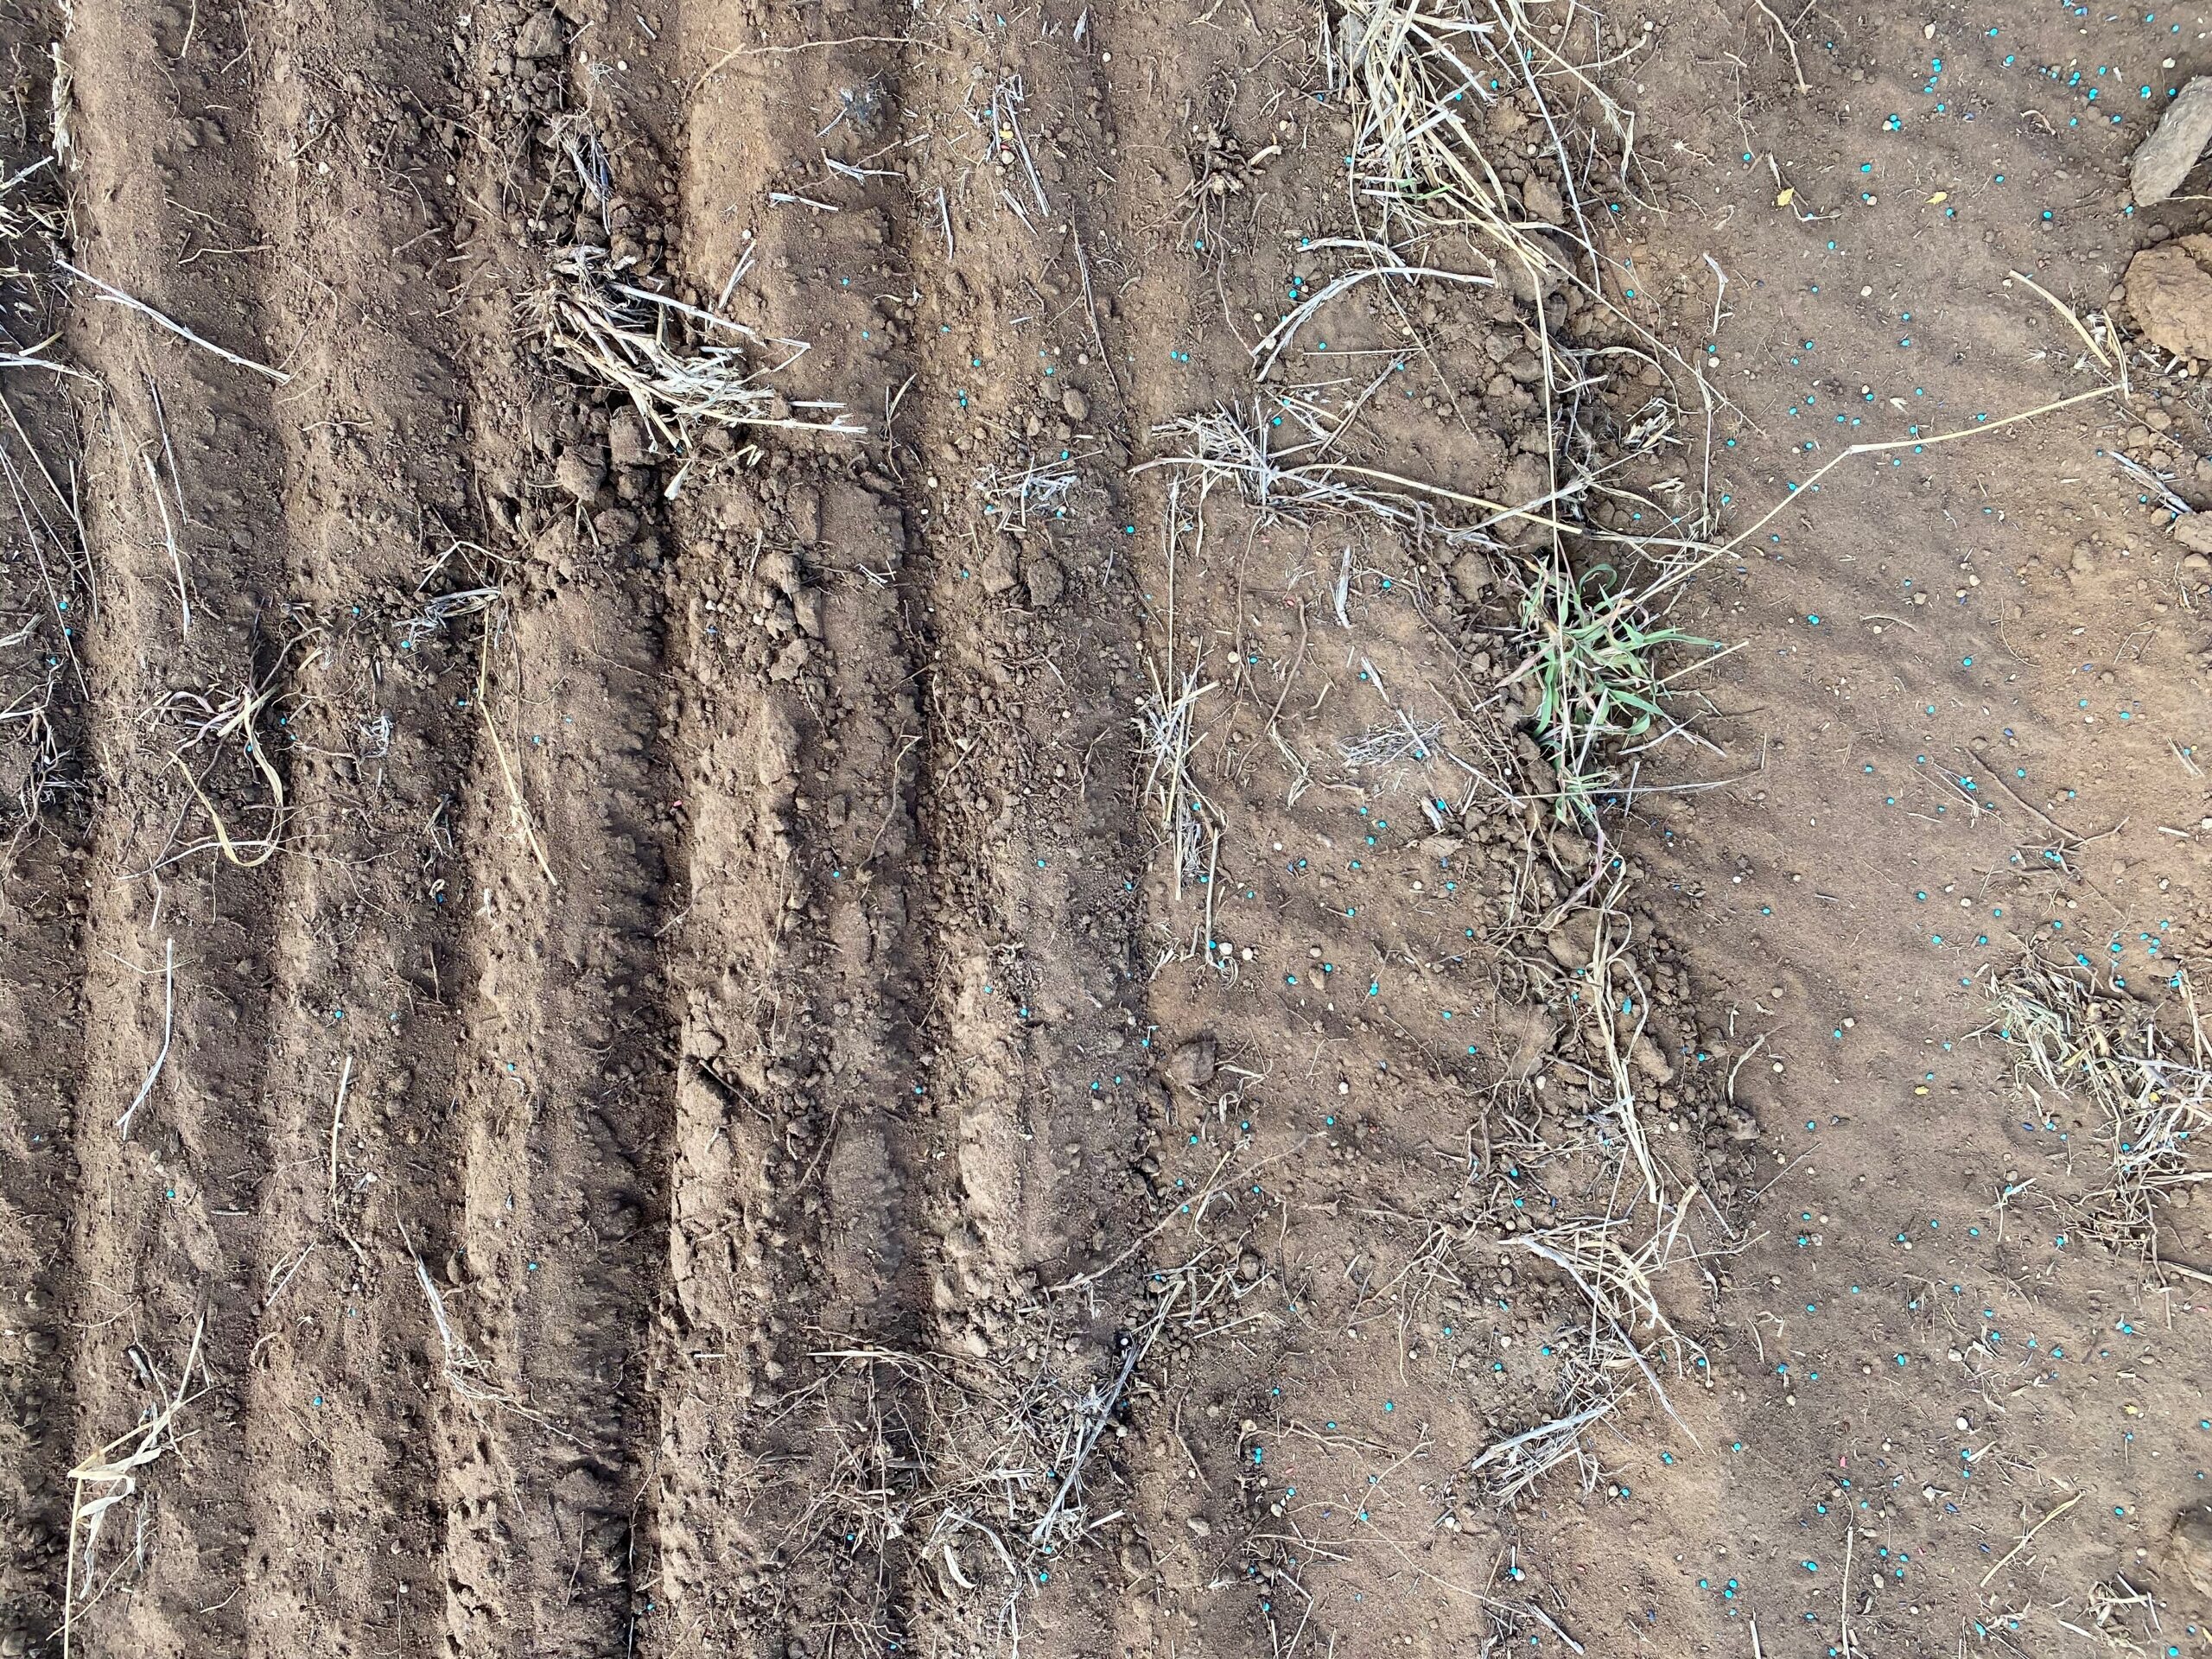
Plant at the right depth
There are many methods and implements for planting, each with advantages and disadvantages. Regardless of the method, seed-soil contact and correct sowing depth are critical for successful germination. Modern crop planters usually have press wheels that can be used to improve the seed-soil contact. Alternatively, a roller can be used if no press wheels are available.
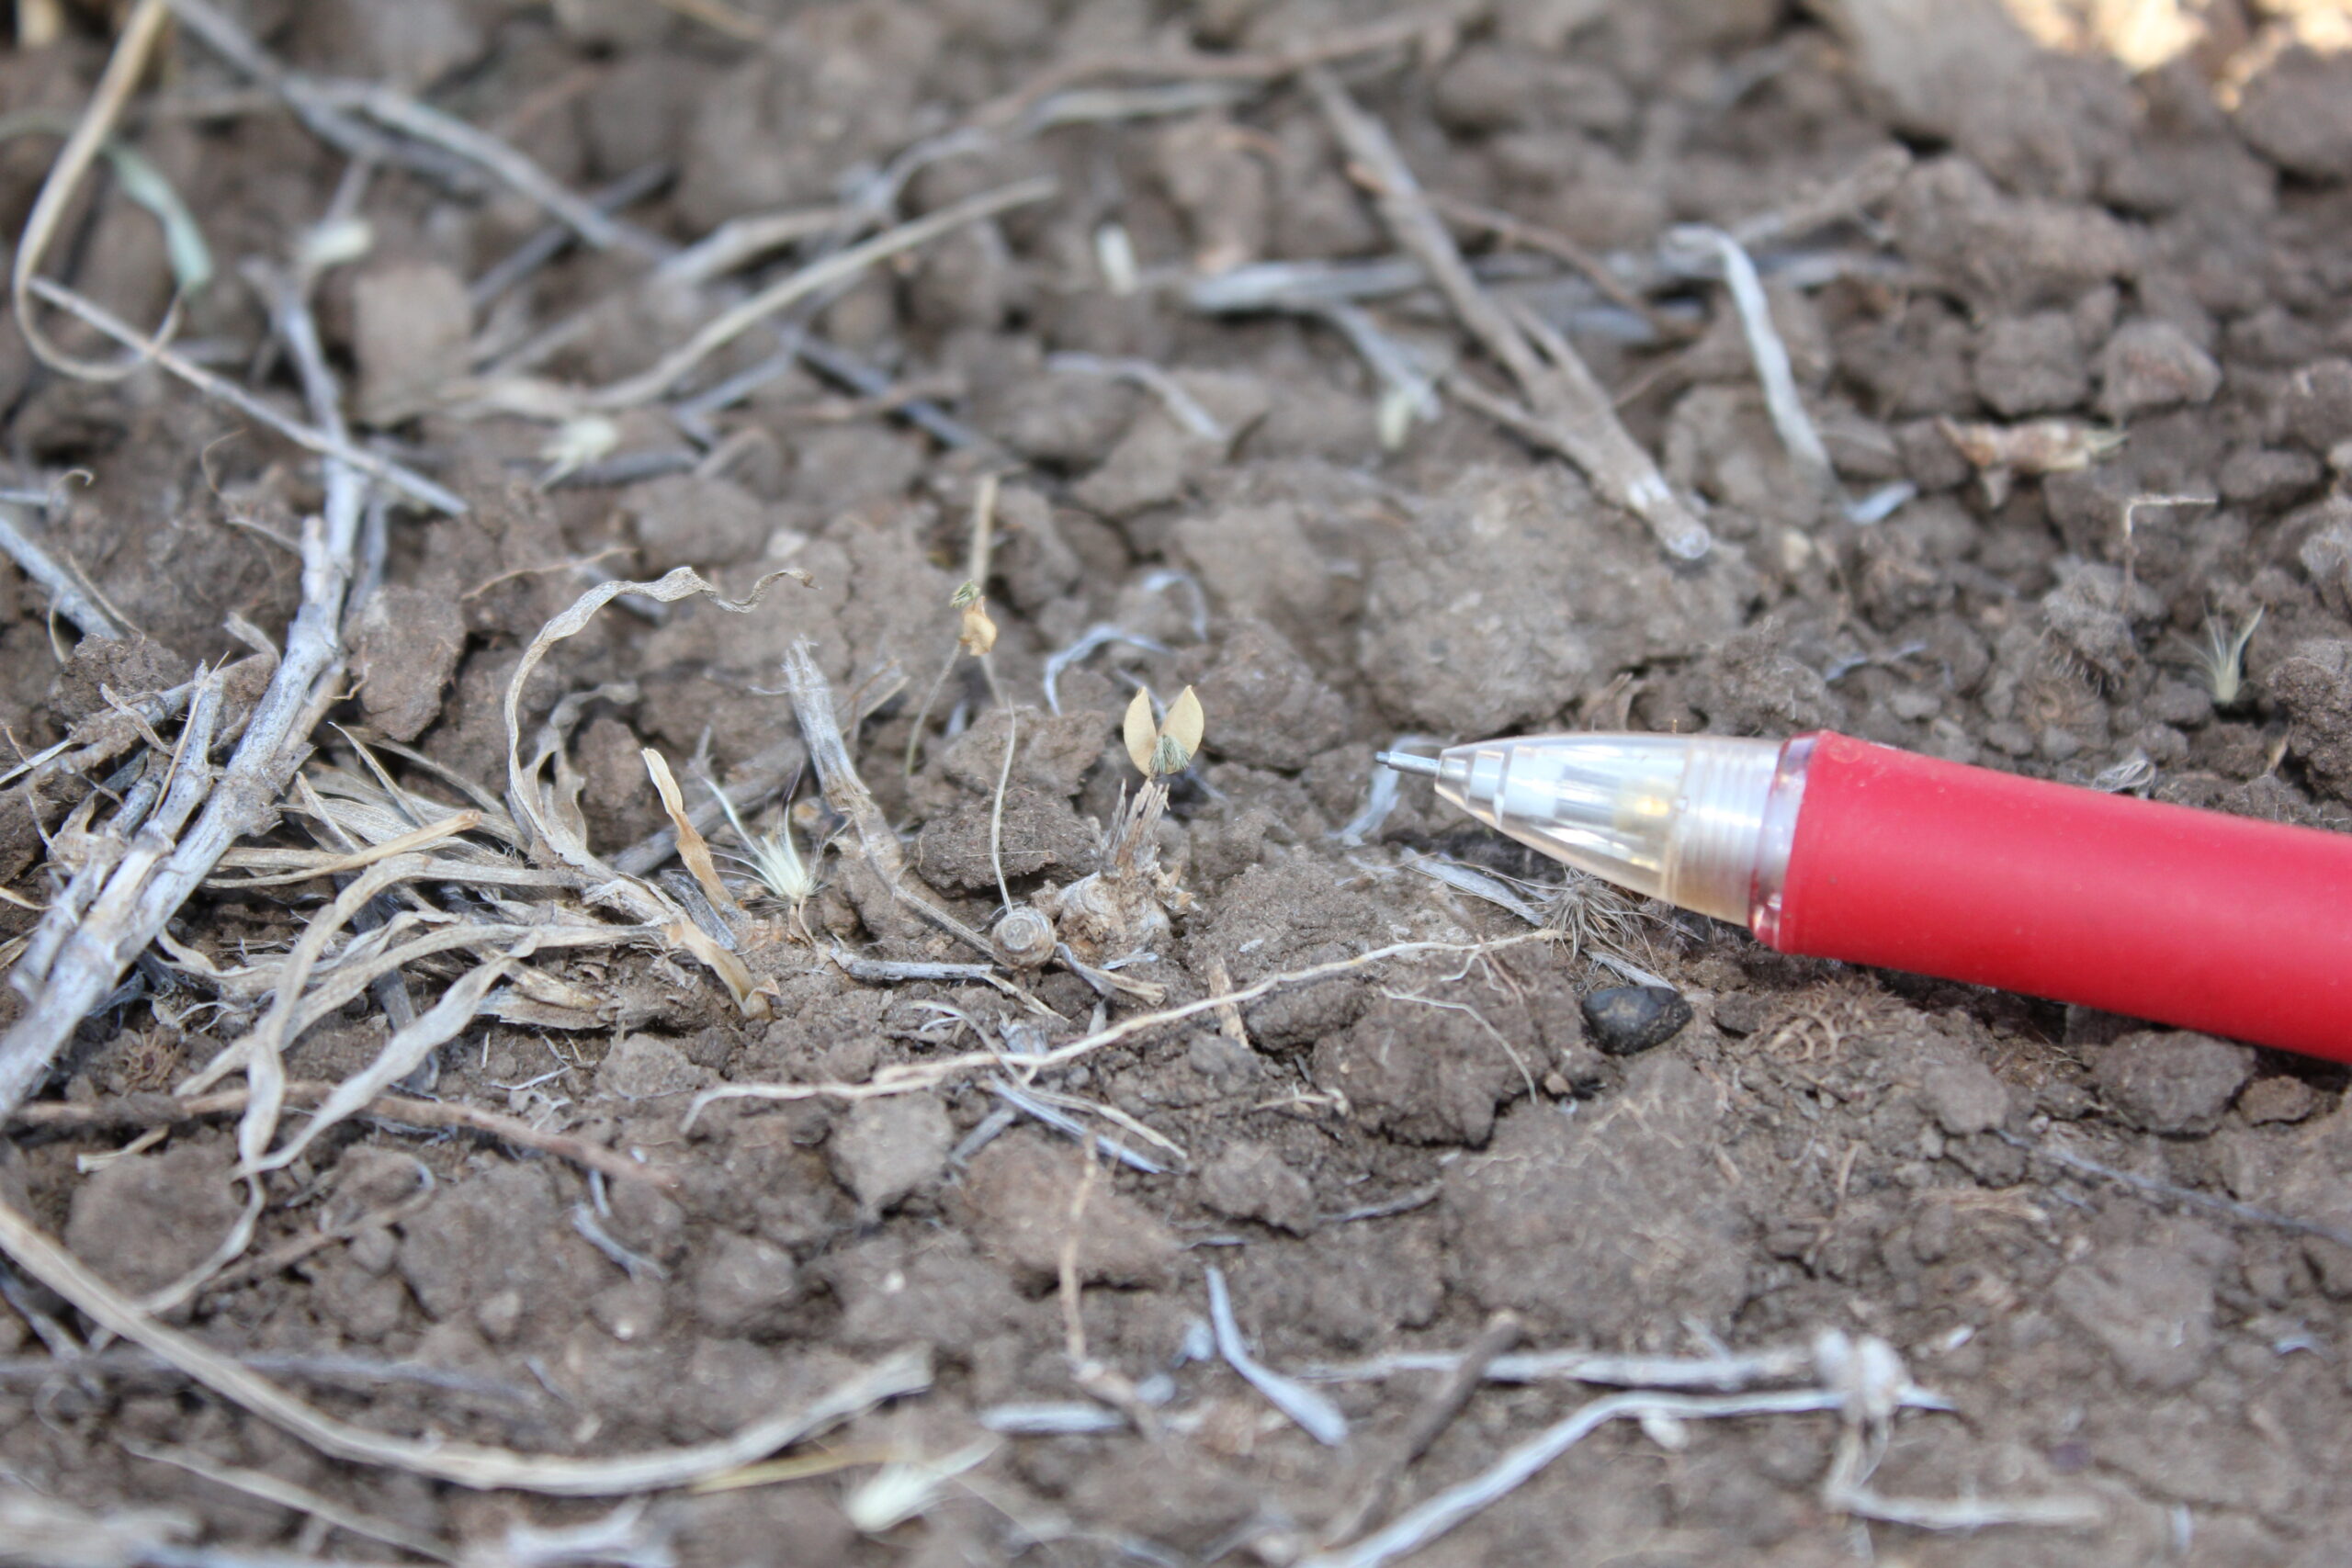
Small seeded tropical grass and legume seeds should not be planted any deeper than 10 mm.
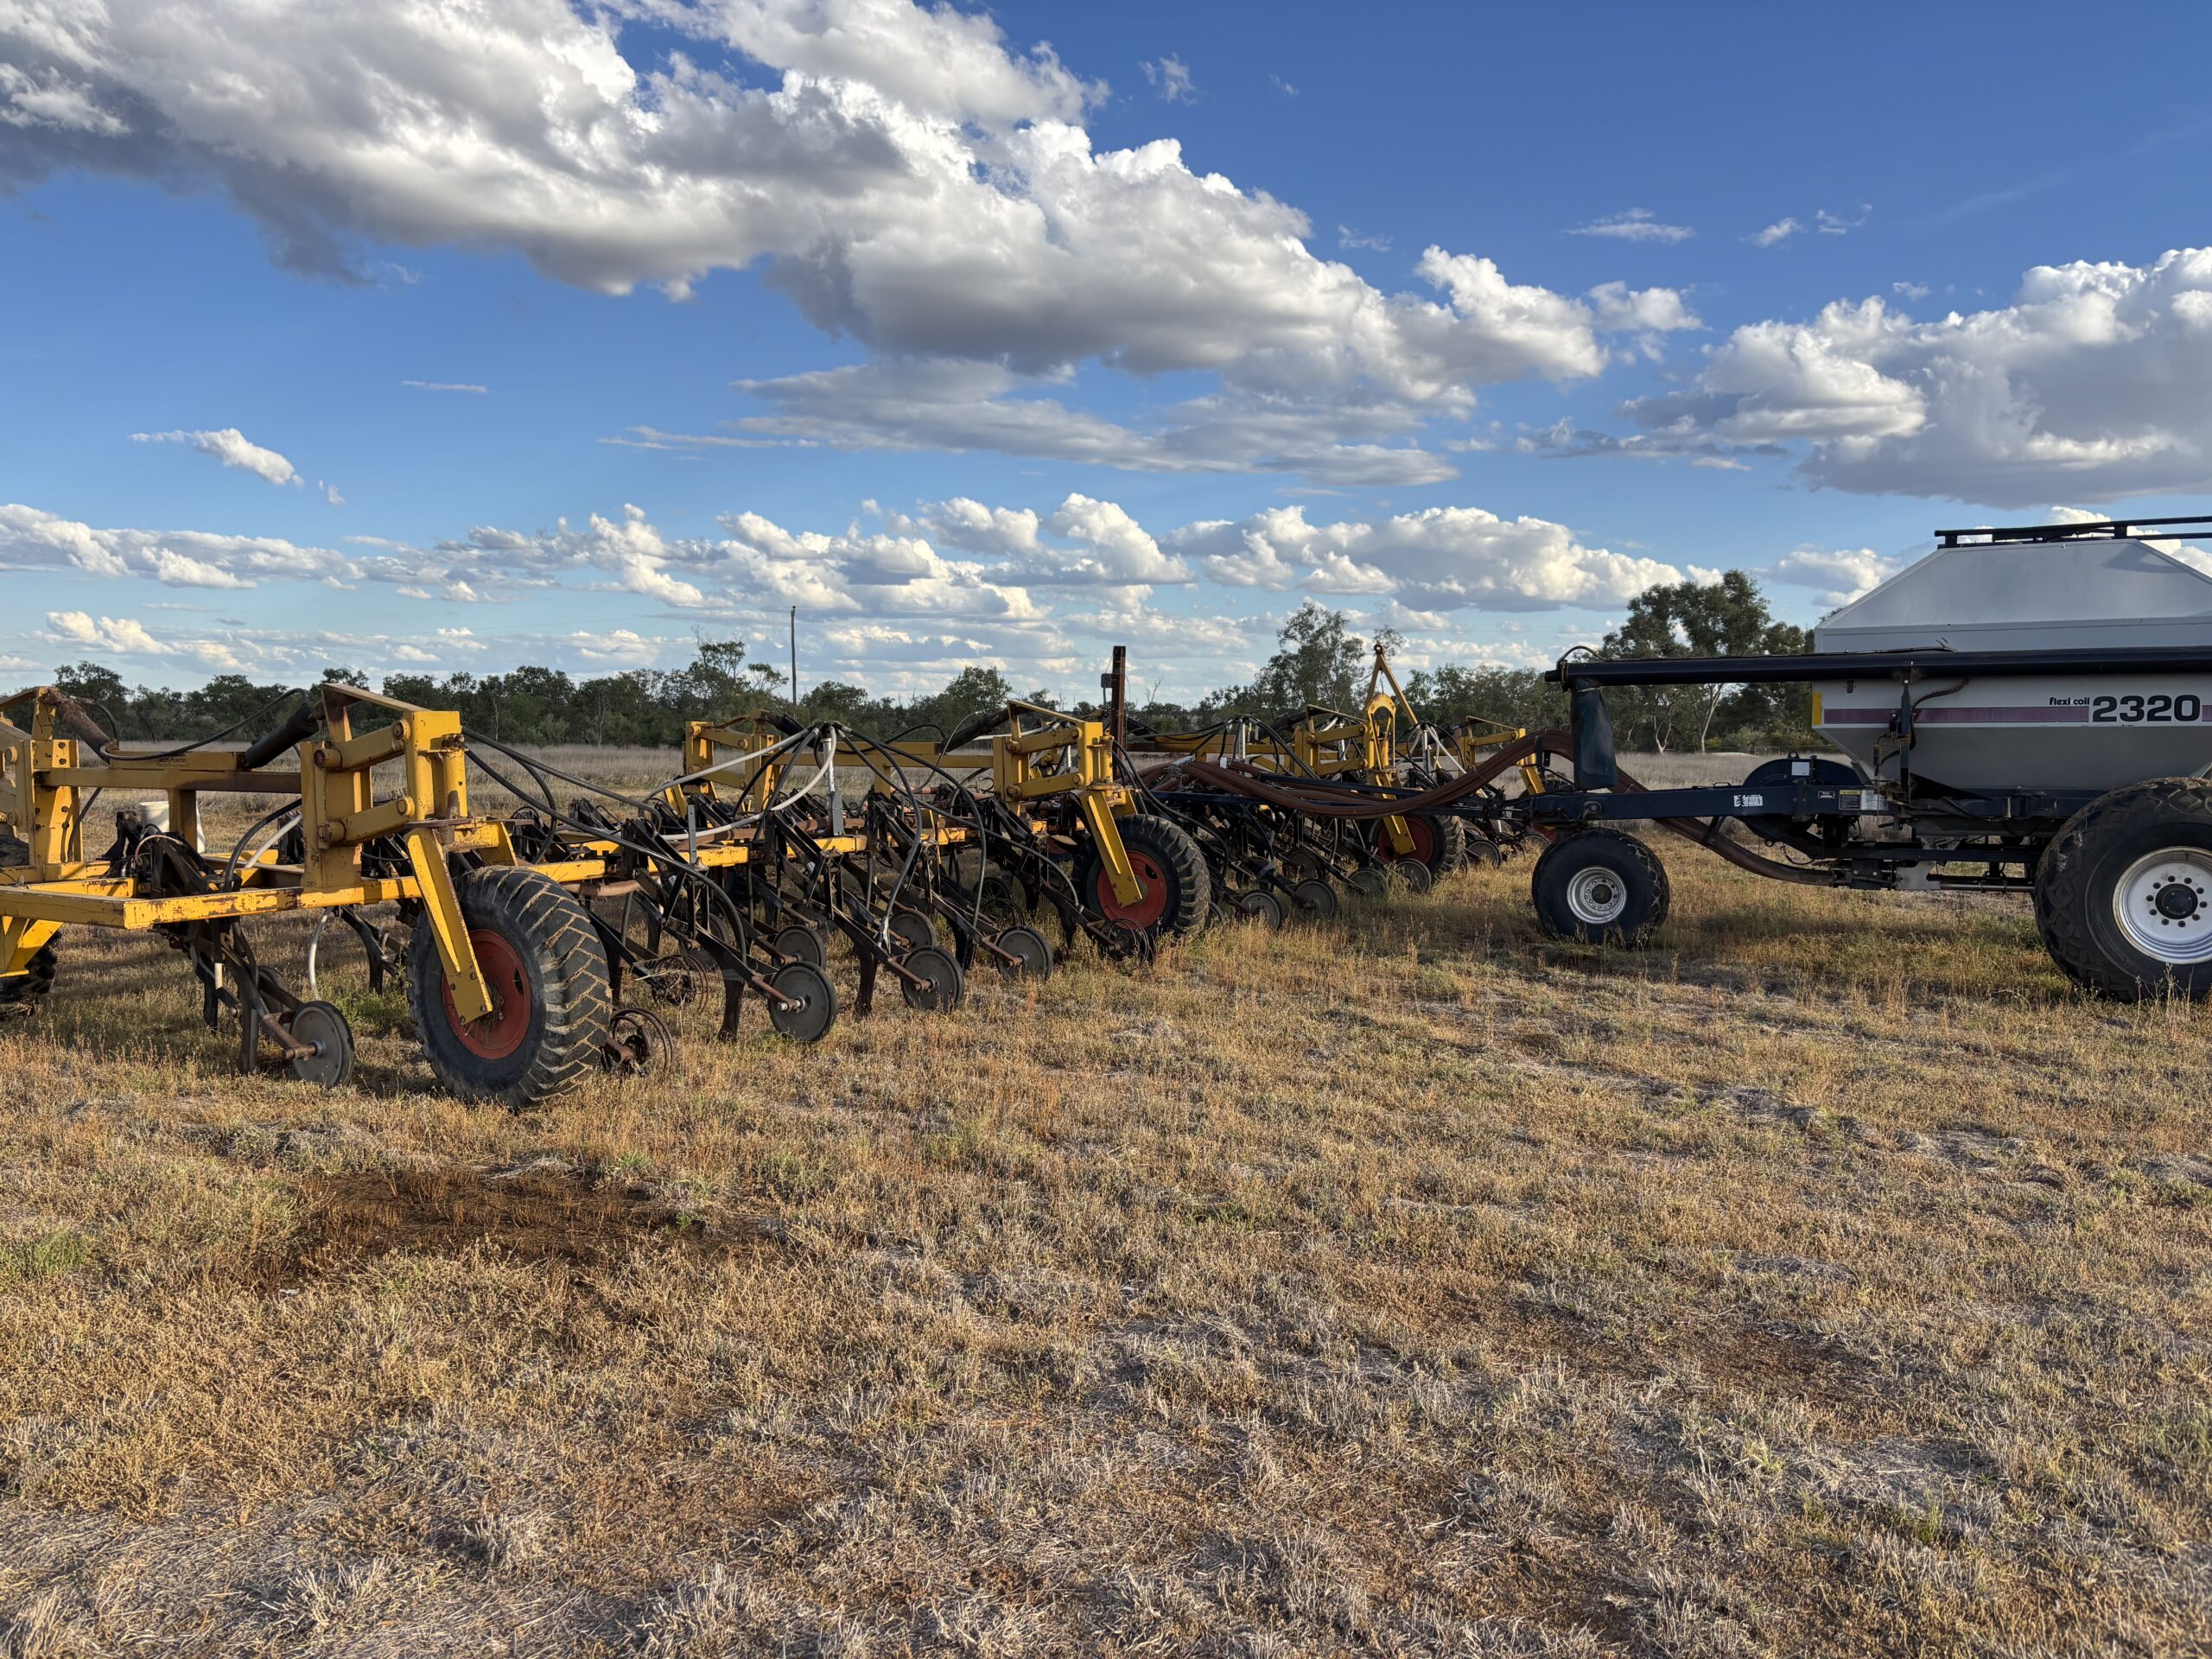
Combines, air-seeders or row-crop planters provide consistent seed metering, ensuring even and accurate application rates and more control over sowing depth. Some can also apply fertiliser, rhizobium or even herbicide at the same time. If sowing a seed mixture with different sized seeds, planters that can keep seed types separated but simultaneously place seed at different depths are ideal.
Alternatively, seed can be broadcast on top of the soil with roller drums, spreaders, aeroplanes or drones and then pressed into the soil with a steel roller or lightly covered with harrows. This method has less accurate seed metering but can be cost effective.
Further information:
For more information, visit the Queensland Pasture Resilience Program page or call your local DPI extension officer on 13 25 23. The Department of Primary Industries has partnered with Meat & Livestock Australia and the Australian Government through the MLA Donor Company to bring this $24.4 million pasture program to the Queensland grazing industry.